Unlock Your Pi: The Ultimate Remote Access Control Setup Guide
Imagine being able to manage your Raspberry Pi from anywhere in the world, whether you're across the room or across the globe. The concept of a Raspberry Pi remote access control setup isn't just a convenience; it's a game-changer for hobbyists, developers, and anyone leveraging the power of these versatile microcomputers. This comprehensive guide will walk you through everything you need to know to achieve seamless and secure remote control over your Raspberry Pi, transforming it into a truly versatile remote workstation.
From configuring initial headless setups to mastering SSH and VNC, and even exploring advanced, secure methods like VPNs and third-party services, we'll cover it all. Our aim is to address common challenges and provide effective solutions, enabling you to control and access your device with ease, giving you full command of your Raspberry Pi no matter where you are. Let's dive in and unlock the full potential of your Raspberry Pi today.
Table of Contents
- The Power of Remote Access for Your Raspberry Pi
- Preparing Your Raspberry Pi for Headless Operation
- Secure Shell (SSH): Your Command-Line Gateway
- Virtual Network Computing (VNC): The Graphical Desktop Experience
- Advanced Remote Access Methods for Enhanced Control
- Securing Your Raspberry Pi Remote Access: Best Practices
- Troubleshooting Common Remote Access Issues
- Expanding Your Raspberry Pi's Remote Capabilities
- Conclusion
The Power of Remote Access for Your Raspberry Pi
The Raspberry Pi, a marvel of miniature computing, is designed to be a versatile tool for countless projects. However, its true potential often remains untapped if you're constantly tethered to it with a monitor, keyboard, and mouse. This is where the magic of remote access comes into play. Managing your Raspberry Pi remotely lets you control and monitor it from anywhere, freeing you from physical constraints and opening up a world of possibilities.
- Is Yasmeen Ghauris Daughter A Model
- Diva Flawless Porn Video Hd
- Dolphy Family Tree
- Uiiu Moviescom
- Laylajenner
Whether you're building a home automation server, a security camera system, a media center, or a simple web server, the ability to access your Raspberry Pi from another computer, tablet, or even your smartphone is invaluable. To remotely control your Raspberry Pi from any device connected to the internet, you can expose SSH or VNC over the open internet, within a VPN, or using an external service. This guide aims to demystify the process of setting up a robust and secure Raspberry Pi remote access control setup, ensuring you can interact with your device effortlessly and efficiently.
Preparing Your Raspberry Pi for Headless Operation
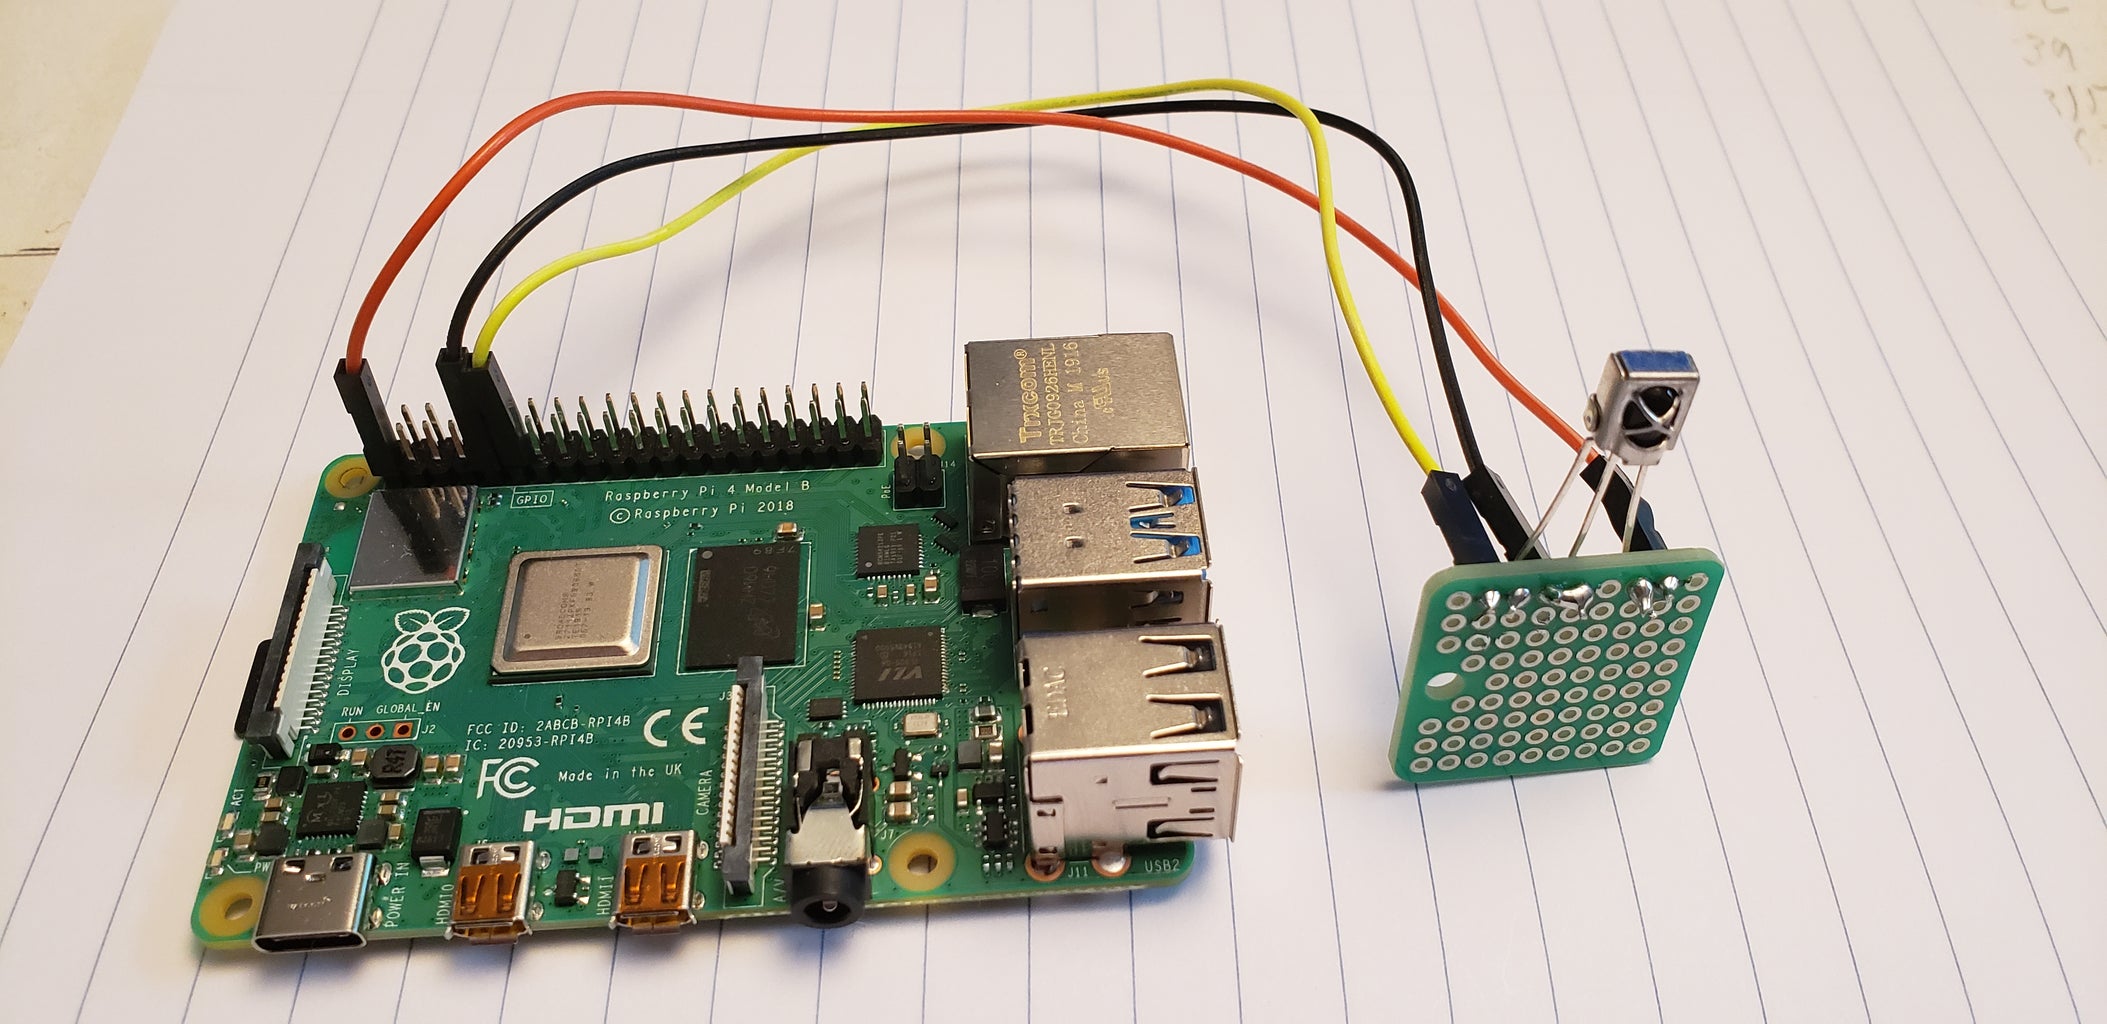
One of the most common scenarios for remote access is setting up a "headless" Raspberry Pi – meaning it operates without a connected monitor, keyboard, or mouse. This is particularly useful for projects where the Pi is tucked away in a cupboard, a server rack, or integrated into a larger system. In this project, we’ll set up a headless Raspberry Pi and configure SSH and VNC for remote access and control.
Essential Hardware and Software Prerequisites
Before we embark on our Raspberry Pi remote access control setup journey, let's ensure you have all the necessary components:
- Raspberry Pi Board: Any model (e.g., Raspberry Pi 3, 4, Zero W) will work, though newer models offer better performance.
- MicroSD Card: The card must be at least 8GB, but 16GB or 32GB is recommended for most projects. Choose a reputable brand for reliability.
- Power Supply: A stable 5V power supply with sufficient amperage (e.g., 3A for Raspberry Pi 4) is crucial.
- Card Reader: To flash the operating system onto your microSD card.
- Computer: A desktop or laptop (Windows, macOS, or Linux) to prepare the microSD card.
- Internet Connection: For downloading software and for the Raspberry Pi itself to connect to the network.
Flashing Your microSD Card for Headless Setup
The first step in setting up Raspberry Pi in headless mode is preparing the microSD card. This involves flashing the Raspberry Pi OS onto the card and enabling SSH for initial remote access.
- Download Raspberry Pi Imager: Visit the official Raspberry Pi website and download the Raspberry Pi Imager software for your operating system. This is the recommended tool for flashing.
- Choose OS: Open Raspberry Pi Imager. Select "Raspberry Pi OS (64-bit)" or "Raspberry Pi OS (Lite)" if you prefer a command-line only interface for your headless setup. The Lite version is excellent for a pure command-line Raspberry Pi remote access control setup as it consumes fewer resources.
- Select Storage: Insert your microSD card into your computer's card reader and select it as the storage device in the Imager.
- Configure OS Settings (Crucial for Headless): Before writing, click the gear icon (or Ctrl+Shift+X) to access advanced options. Here, you can:
- Enable SSH: Check the box to enable SSH. For security, choose "Use password authentication" and set a strong password, or even better, "Use public-key authentication" if you're familiar with SSH keys.
- Set Username and Password: Create a custom username and password. Avoid the default 'pi' and 'raspberry' for security.
- Configure Wireless LAN: Enter your Wi-Fi SSID and password. This allows your Pi to connect to your network immediately upon boot.
- Set Locale Settings: Configure your timezone and keyboard layout.
- Write Image: Click "Write" to begin the flashing process. This may take several minutes.
- Eject Card: Once completed, safely eject the microSD card from your computer.
Your microSD card is now ready. Insert it into your Raspberry Pi and power it on. It should automatically connect to your Wi-Fi network and be ready for remote access via SSH.
Secure Shell (SSH): Your Command-Line Gateway
SSH, or Secure Shell, is the cornerstone of remote command-line access. It provides a secure, encrypted connection between your client device and your Raspberry Pi, allowing you to execute commands, transfer files, and manage your system as if you were sitting right in front of it. Take full control of your Raspberry Pi with our comprehensive guide to SSH remote access.
Enabling SSH on Your Raspberry Pi
If you followed the headless setup instructions above, SSH should already be enabled during the flashing process. However, if you're setting up SSH on an existing Raspberry Pi with a desktop environment, you can enable it manually:
- Via Raspberry Pi Configuration Tool:
- On your Raspberry Pi's desktop, go to the Raspberry Pi icon (menu) > Preferences > Raspberry Pi Configuration.
- Navigate to the "Interfaces" tab.
- Ensure "SSH" is set to "Enabled." Click OK.
- Via Command Line:
- Open a terminal on your Raspberry Pi.
- Type `sudo raspi-config` and press Enter.
- Navigate to "Interface Options" > "SSH" > "Yes."
- Exit `raspi-config` and reboot if prompted.
Connecting to Your Pi via SSH
Once SSH is enabled, you'll need your Raspberry Pi's IP address. You can find this by:
- On the Pi itself: Open a terminal and type `hostname -I`.
- From your router's admin page: Look for connected devices.
- Using network scanning tools: Tools like `nmap` or mobile apps can scan your network for devices.
To connect from your client device:
- From Linux/macOS: Open a terminal and use the command:
For example: `ssh piuser@192.168.1.100` You will be prompted for your password.ssh your_username@your_pi_ip_address - From Windows:
- Using PowerShell or Command Prompt: Windows 10 and newer versions have a built-in SSH client. The command is the same as for Linux/macOS.
- Using PuTTY: Download and install PuTTY. Open PuTTY, enter your Pi's IP address in the "Host Name (or IP address)" field, ensure "Port" is 22 and "Connection type" is SSH, then click "Open." Enter your username and password when prompted.
Congratulations! You now have remote shell access to your Raspberry Pi. This allows for setting up remote shell access, desktop access, and file transfer. For file transfer, you can use `scp` (Secure Copy Protocol) which works over SSH, or tools like WinSCP on Windows.
Virtual Network Computing (VNC): The Graphical Desktop Experience
While SSH is powerful for command-line tasks, sometimes you need a full graphical desktop experience. VNC (Virtual Network Computing) enables remote desktop access to your Raspberry Pi, making it easier to control your device from any computer or mobile device. This is incredibly useful for tasks that require a visual interface, such as web browsing, running graphical applications, or configuring settings that are easier to manage with a mouse and keyboard.
Installing and Configuring VNC Server
To get started with our remote desktop setup guide, first ensure your Raspberry Pi OS has a desktop environment installed. If you used the "Lite" version, you'll need to install one first (e.g., `sudo apt install raspberrypi-ui-mods`).
- Install RealVNC Server: RealVNC is pre-installed on Raspberry Pi OS with a desktop. If not, or if you prefer to ensure it's up-to-date, you can install it:
sudo apt update sudo apt install realvnc-vnc-server - Enable VNC:
- Via Raspberry Pi Configuration Tool: Go to the Raspberry Pi icon (menu) > Preferences > Raspberry Pi Configuration. Navigate to the "Interfaces" tab and ensure "VNC" is set to "Enabled."
- Via Command Line: `sudo raspi-config` > "Interface Options" > "VNC" > "Yes."
- Set up VNC Resolution (Optional but Recommended): For a better experience, especially with headless setups, you might want to set a fixed resolution for the VNC desktop. You can do this in the VNC Server settings or `raspi-config` under "Display Options" > "VNC Resolution."
Accessing Your Raspberry Pi Desktop via VNC
Now that the VNC server is running on your Raspberry Pi, you'll need a VNC client on your device to connect.
- Download VNC Viewer: Go to the RealVNC website and download the VNC Viewer application for your computer (Windows, macOS, Linux) or mobile device (Android, iOS).
- Connect to Your Pi:
- Open VNC Viewer.
- Enter your Raspberry Pi's IP address (e.g., `192.168.1.100`) into the address bar and press Enter.
- You may be prompted to accept a security warning the first time you connect.
- Enter the username and password for your Raspberry Pi.
You should now see your Raspberry Pi's desktop environment, allowing you to interact with it graphically. Transform your Raspberry Pi into a versatile remote workstation by setting up remote desktop access, often in under 30 minutes for experienced users.
Advanced Remote Access Methods for Enhanced Control
While SSH and VNC are fundamental, there are more sophisticated ways to manage your Raspberry Pi remotely, especially when dealing with network complexities or long-running tasks.
Leveraging Terminal Multiplexers (Screen/Tmux)
When you connect via SSH and start a long-running process, if your SSH connection drops, the process usually terminates. This is where terminal multiplexers like GNU Screen or Tmux become indispensable. To enable seamless remote control over your Raspberry Pi, consider utilizing a terminal multiplexer such as Screen or Tmux. These powerful tools enable you to detach and effortlessly reattach sessions via SSH, allowing you to leave processes running even if your connection is interrupted.
Installation:
sudo apt update sudo apt install screen tmuxBasic Usage:
- Start a new session: `screen` or `tmux`
- Detach from a session: Press `Ctrl+A` then `D` (for Screen) or `Ctrl+B` then `D` (for Tmux). Your session will continue running in the background.
- Reattach to a session: `screen -r` or `tmux attach`
- List sessions: `screen -ls` or `tmux ls`
These tools are invaluable for maintaining persistent remote access sessions, especially when working on complex or time-consuming tasks.
Exploring Third-Party Solutions like Remote.it and Raspberry Pi Connect
Accessing your Raspberry Pi from outside your local network (e.g., from a coffee shop or another city) typically requires configuring port forwarding on your router, which can be complex and introduce security risks if not done correctly. Fortunately, several services offer simpler and more secure alternatives.
- Remote.it: With remote.it, you can access a Raspberry Pi remotely without port forwarding. You do this by accessing the remote.it server as a proxy, or by using remote.it’s software to form a direct connection through their infrastructure. This service creates secure, direct connections to your devices, bypassing firewall and NAT issues. It's an excellent solution for secure, global access to SSH, VNC, web servers, and more on your Pi.
- Raspberry Pi Connect: A relatively new and exciting development, Raspberry Pi Connect offers an even easier way to connect to a Raspberry Pi from anywhere, using a simple web browser. This service, provided by the Raspberry Pi Foundation itself, aims to simplify remote access by handling the complex networking behind the scenes. It's a fantastic option for those who want a straightforward, officially supported method for remote control of their Raspberry Pi.
- VPN (Virtual Private Network): Exposing SSH or VNC directly to the open internet is generally not recommended due to security risks. A much safer approach is to set up a VPN server (e.g., WireGuard or OpenVPN) on your home network or even directly on your Raspberry Pi. This creates a secure tunnel, allowing you to connect to your home network remotely and then access your Raspberry Pi as if you were physically on the local network. This ultimate guide covers SSH, VNC, VPN & more for secure access from anywhere.
Today, we will examine three methods for effectively and securely accessing your Raspberry Pi remotely: SSH, VNC, and VPN/Third-party services. Each offers distinct advantages depending on your needs.
Securing Your Raspberry Pi Remote Access: Best Practices
While enabling remote access is convenient, it also introduces potential security vulnerabilities. Protecting your Raspberry Pi is paramount, especially when it's accessible from the internet. Here are crucial security practices:
- Change Default Credentials: As mentioned, never use the default 'pi' username and 'raspberry' password. Create a strong, unique username and password during the OS flashing process or immediately after first boot.
- Use SSH Key-Based Authentication: For SSH, switch from password authentication to SSH keys. This is significantly more secure as it relies on cryptographic keys instead of easily guessable passwords. Disable password authentication for SSH once keys are set up.
- Keep Your OS Updated: Regularly update your Raspberry Pi OS:
Updates often include security patches for known vulnerabilities.sudo apt update sudo apt upgrade sudo apt full-upgrade sudo rpi-update (for firmware updates, use sparingly) - Configure a Firewall (UFW): Install and configure a firewall like UFW (Uncomplicated Firewall) to restrict incoming connections to only necessary ports (e.g., SSH on port 22, VNC on 5900).
sudo apt install ufw sudo ufw enable sudo ufw allow ssh sudo ufw allow vnc sudo ufw status - Use a VPN for External Access: Instead of directly exposing SSH or VNC ports to the internet, set up a VPN server on your home network. Connect to the VPN from outside, then access your Pi as if you were on your local network. This significantly reduces your attack surface.
- Two-Factor Authentication (2FA): For critical systems, consider implementing 2FA for SSH access using tools like Google Authenticator PAM module.
- Monitor Logs: Regularly check system logs (`/var/log/auth.log` for SSH attempts) for suspicious activity.
- Disable Unused Services: Turn off any services (like Bluetooth, GPIO, etc.) that you are not actively using to reduce potential attack vectors.
Adhering to these security principles is vital for maintaining the integrity and safety of your Raspberry Pi remote access control setup. Remember, a secure setup is a reliable setup.
Troubleshooting Common Remote Access Issues
Even with the best preparation, you might encounter hiccups. Here are some common issues and their solutions:
- "Connection Refused" (SSH/VNC):
- SSH: Ensure the SSH server is running (`sudo systemctl status sshd`). Check if the firewall is blocking port 22.
- VNC: Ensure the VNC server is running (`sudo systemctl status vncserver-x11-serviced.service` for RealVNC). Check firewall for port 5900.
- Incorrect IP Address: Double-check your Pi's IP address. It might have changed if your router uses dynamic IP assignment.
- "Host Key Verification Failed" (SSH): This usually happens if your Pi's IP address has changed and a new host key is generated, or if you re-flashed the OS. You'll need to remove the old host key from your client's `known_hosts` file (the error message will usually tell you which line to remove).
- Slow VNC Performance:
- Network Latency: A slow internet connection will impact performance.
- Resolution: Try lowering the VNC resolution on your Raspberry Pi.
- Color Depth: Reduce the color depth in VNC Viewer settings.
- Hardware: Older Raspberry Pi models might struggle with high-resolution VNC.
- Pi Not Connecting to Wi-Fi:
- Double-check your Wi-Fi SSID and password in the `wpa_supplicant.conf` file (if manually configured) or during the Imager setup.
- Ensure your Wi-Fi network is 2.4GHz if using older Pi models (Pi 3 and 4 support 5GHz).
- Check Wi-Fi signal strength if the Pi is far from the router.
- Can't Find Pi's IP Address:
- Check your router's connected devices list.
- Use a network scanner app on your phone.
- If you have a monitor, connect it temporarily and run `hostname -I`.
Patience and systematic troubleshooting are key. Most issues can be resolved by checking network connectivity, service status, and firewall rules.
Expanding Your Raspberry Pi's Remote Capabilities
Once you've mastered the basics of Raspberry Pi remote access control setup, the possibilities for expanding its capabilities are endless. Your remotely accessible Pi can become the central hub for numerous projects:
- Home Automation Hub: Control smart lights, thermostats, and sensors using platforms like Home Assistant or OpenHAB, all managed remotely.
- Personal Cloud Storage: Set up Nextcloud or ownCloud on your Pi to create your private, accessible-from-anywhere cloud storage, giving you full control over your data.
- Web Server: Host your personal website or a small web application using Apache or Nginx, accessible via your domain name.
- Media Server: Transform your Pi into a Plex or Jellyfin server, streaming your media collection to any device, anywhere.
- Security Camera DVR: Use software like MotionEyeOS to turn your Pi into a network video recorder, accessible remotely for live feeds and recordings.
- Ad Blocker (Pi-hole): Deploy Pi-hole on your network to block ads and trackers for all devices, controllable and monitorable via its web interface.
- Development Server: Use it as a lightweight development environment for coding projects, accessible from your laptop.
With remote access firmly established, your Raspberry Pi microcomputer truly becomes a powerful, adaptable tool limited only by your imagination. We will be working with Raspberry Pi microcomputers, not a larger server, emphasizing its compact yet powerful nature.
Conclusion
You've now embarked on a comprehensive journey through the world of Raspberry Pi remote access control setup. From preparing your microSD card for headless operation to mastering SSH for command-line control and VNC for a graphical desktop experience, you've gained invaluable skills. We've also explored advanced techniques like terminal multiplexers and third-party solutions such as Remote.it and Raspberry Pi Connect, alongside crucial security best practices.
The ability to unlock remote control of your Raspberry Pi fundamentally changes how you can interact with and utilize this incredible device. It transforms your Pi from a stationary gadget into a flexible, powerful computing resource that's always at your fingertips, no matter where you are. Yes, it is possible to control a Raspberry Pi remotely, and as you've seen, there are several different ways to go about this, including using a remote desktop application, SSH, or VNC.
We encourage you to experiment with these methods, find what works best for your specific projects, and always prioritize security in your setup. The world of remote computing with Raspberry Pi is vast and full of possibilities. What exciting projects will you build now that you have full remote command? Share your thoughts and experiences in the comments below, or explore our other guides for more ways to enhance your Raspberry Pi journey!


Detail Author:
- Name : Berta Cormier DVM
- Username : kautzer.jazmin
- Email : desiree59@towne.biz
- Birthdate : 2000-03-12
- Address : 23562 Josephine Summit Port Alva, HI 38295-6406
- Phone : (747) 240-4784
- Company : Wintheiser-Crona
- Job : Health Specialties Teacher
- Bio : Quo molestiae architecto repudiandae facilis laudantium nulla doloremque. Voluptas quidem quisquam odio ipsum omnis. Ut maiores et cum quod est ea officiis. Sunt sint quam autem sed dolor.
Socials
twitter:
- url : https://twitter.com/connellyo
- username : connellyo
- bio : Suscipit quia rerum quos illo alias alias laborum. Perspiciatis tempora necessitatibus est officia. Distinctio veniam eligendi sapiente earum.
- followers : 1380
- following : 2379
instagram:
- url : https://instagram.com/otha6740
- username : otha6740
- bio : Quibusdam quos est minus. Laborum quae quaerat eum esse dolore aut quia.
- followers : 5541
- following : 2175
facebook:
- url : https://facebook.com/connellyo
- username : connellyo
- bio : Molestiae magni temporibus et qui ullam. Quaerat quo itaque incidunt earum.
- followers : 5331
- following : 1543
linkedin:
- url : https://linkedin.com/in/otha5562
- username : otha5562
- bio : Qui accusamus ut praesentium est a molestias.
- followers : 1324
- following : 1840
