Unlock Your Pi: The Ultimate Guide To Remote Raspberry Pi Access
In today's interconnected world, the ability to control devices from afar has become not just a luxury, but a necessity. For Raspberry Pi enthusiasts, hobbyists, and professionals alike, mastering how to remotely access your Raspberry Pi is a game-changer. Imagine managing your home automation server, accessing your personal cloud, or running experiments on your Pi from anywhere in the world, simply with an internet connection. This comprehensive guide will walk you through everything you need to know to set up remote access to your Raspberry Pi, transforming it into a truly versatile and accessible microcomputer.
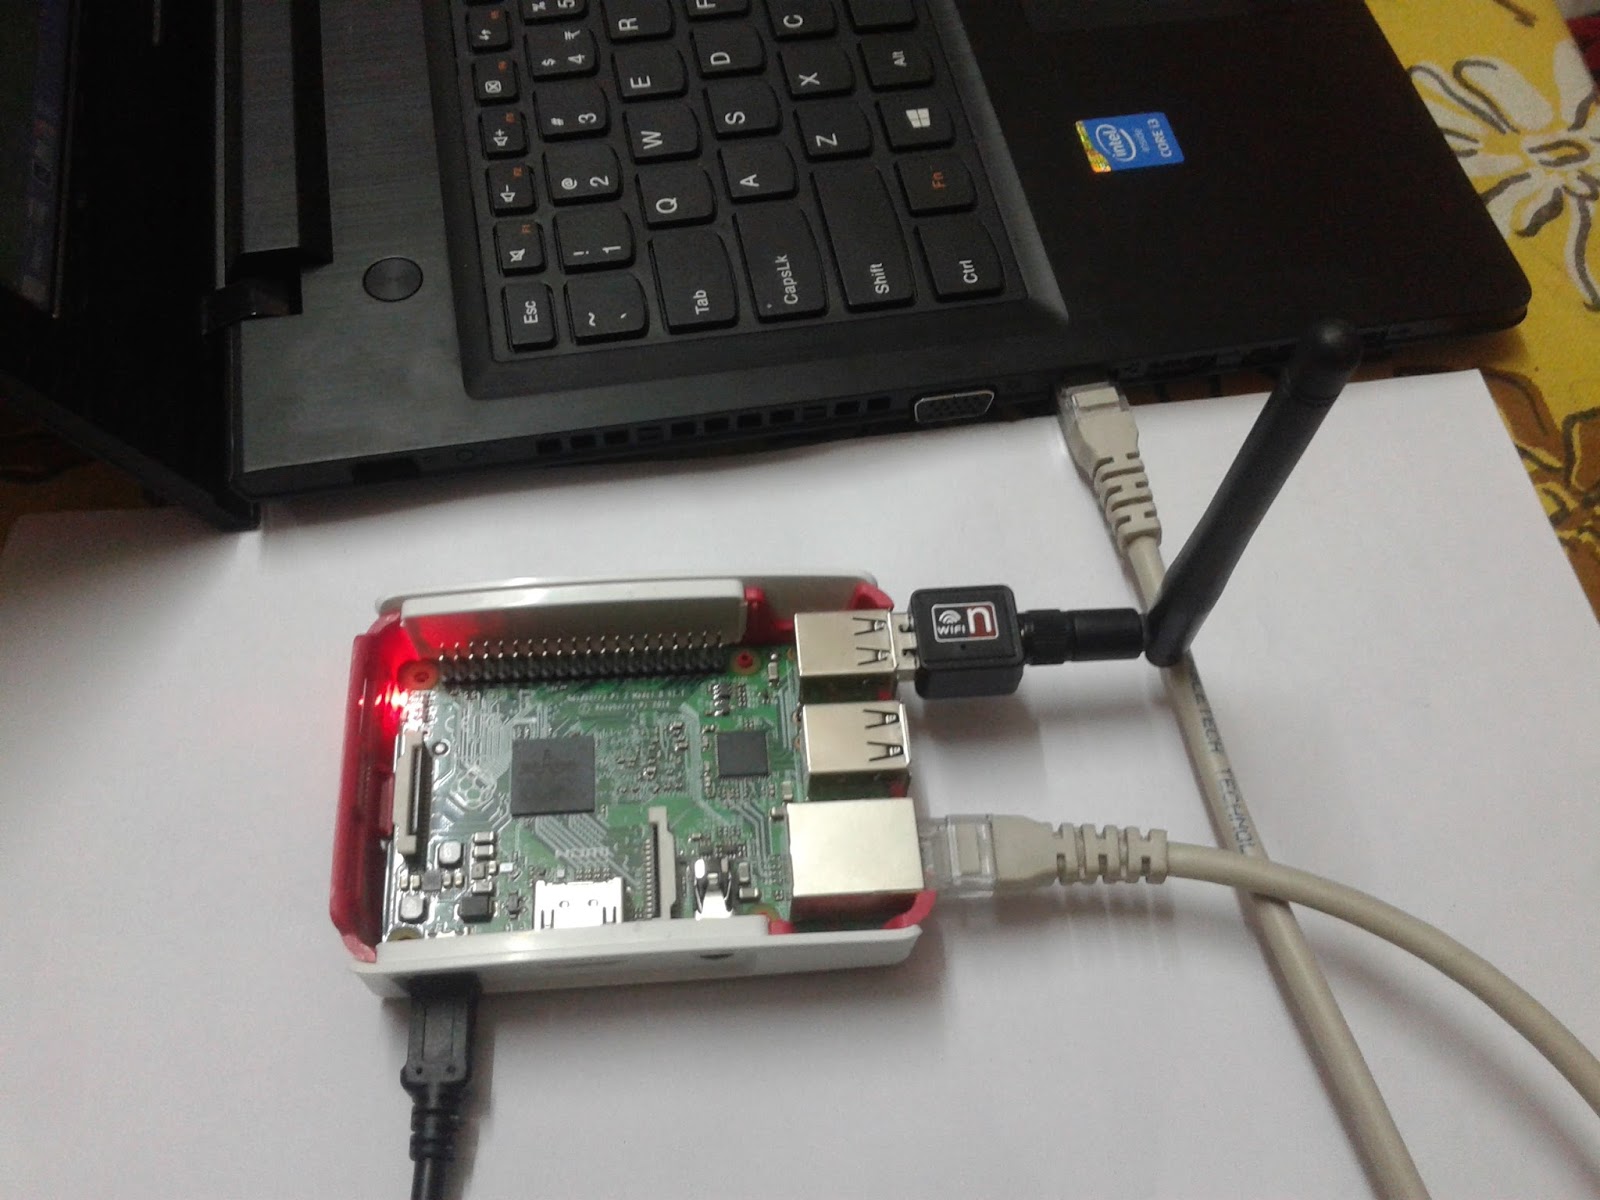
Remote access to a Raspberry Pi from a PC, or any other device, is a powerful and versatile tool that allows users to control their Raspberry Pi from anywhere. Whether your Pi is tucked away in a closet, deployed in a remote location for an IoT project, or simply sitting on your desk without a dedicated monitor, keyboard, and mouse, remote access makes it incredibly convenient to interact with. In this article, I’ll share a few easy (and free) ways to access your Pi remotely, delving into the specifics of each method to ensure you can choose the best solution for your needs.
Table of Contents
- Why Remote Access Your Raspberry Pi?
- Understanding Remote Access Fundamentals
- Preparing Your Raspberry Pi for Remote Access
- Method 1: Secure Shell (SSH) – Command Line Control
- Method 2: VNC (Virtual Network Computing) – Graphical Desktop Access
- Method 3: Remote Desktop Protocol (RDP) – Windows-Friendly Access
- Advanced Remote Access Strategies for Enhanced Security
- Troubleshooting Common Remote Access Issues
- Conclusion
Why Remote Access Your Raspberry Pi?
The Raspberry Pi, despite its compact size, is a remarkably powerful single-board computer capable of a myriad of tasks. However, its true potential is often unlocked when it can operate without direct physical interaction. This is where the ability to remotely access Raspberry Pi becomes indispensable. * **Headless Operation:** Many Raspberry Pi projects, such as home servers, surveillance systems, or IoT devices, don't require a monitor, keyboard, or mouse once set up. Remote access allows you to configure, monitor, and troubleshoot these "headless" setups from your primary computer. * **Convenience and Flexibility:** Imagine your Pi is running a media server in your living room, but you want to update some files from your bedroom. Or perhaps you're on vacation and need to check on your home automation system. Remote access provides this unparalleled convenience, allowing you to control your Raspberry Pi from virtually any device connected to the internet. * **IoT and Embedded Projects:** For those working with Raspberry Pi in Internet of Things (IoT) applications, remote access is crucial. It enables you to deploy your Pi in hard-to-reach locations and still maintain full control, gather data, and push updates without needing to physically retrieve the device. * **Learning and Development:** For students and developers, remote access offers a streamlined workflow. You can write code on your powerful desktop and then deploy and test it directly on your Raspberry Pi without constantly swapping peripherals. Remote access to your Raspberry Pi, even behind a firewall, is not only possible but surprisingly straightforward and completely free using the methods we'll explore.Understanding Remote Access Fundamentals
Before diving into the "how-to," it's essential to grasp the core concepts behind remote access. Essentially, you're establishing a secure communication channel between your client device (your laptop, desktop, or smartphone) and your Raspberry Pi, which acts as a server. To remotely control your Raspberry Pi from any device connected to the internet, you can expose SSH or VNC on your Raspberry Pi over the open internet, within a VPN, or using an external service. Each approach has its own set of advantages and security implications. * **Local Network Access:** The simplest form of remote access is within your local area network (LAN). If your client device and Raspberry Pi are connected to the same Wi-Fi router, they can communicate directly using their internal IP addresses. * **Internet Access:** To access your Pi from outside your home network (e.g., from a coffee shop or a friend's house), you'll need to configure your home router to forward incoming connections to your Raspberry Pi. This often involves setting up "port forwarding," which can expose your Pi to the wider internet and thus requires careful security considerations. Alternatively, secure tunneling services or VPNs can provide a safer route. * **Protocols and Services:** Different methods of remote access rely on different network protocols. For command-line interaction, Secure Shell (SSH) is the gold standard. For a graphical desktop experience, Virtual Network Computing (VNC) and Remote Desktop Protocol (RDP) are popular choices. Solutions like TeamViewer, VNC, or XRDP can provide remote access to a Raspberry Pi over the internet, each offering a distinct user experience. In this guide, we’re going to walk through everything you need to know about setting up a remote desktop connection to your Raspberry Pi using various common methods. We will be working with Raspberry Pi microcomputers, not a full-fledged server, so the methods will be tailored for its capabilities.Preparing Your Raspberry Pi for Remote Access
Before you can remotely access your Raspberry Pi, you need to ensure it's properly set up. 1. **Install Raspberry Pi OS:** Begin by flashing the latest version of Raspberry Pi OS onto your microSD card. You can choose between the "Lite" version (command-line only) or the "Desktop" version (with a graphical user interface). The "Lite" version is lighter and ideal if you only need SSH access, while the "Desktop" version is necessary for VNC or RDP. * **Tip:** When flashing the SD card using Raspberry Pi Imager, you can apply advanced options to pre-configure settings like enabling SSH, setting a hostname, and configuring Wi-Fi credentials. This is particularly useful for headless setups. 2. **Initial Boot and Updates:** * Insert the microSD card into your Pi and power it on. * If you haven't pre-configured Wi-Fi, connect your Pi to your network via Ethernet or set up Wi-Fi manually. * Open a terminal on your Pi (or connect via a temporary monitor/keyboard) and run:


Detail Author:
- Name : Miss Crystal Harber IV
- Username : esta61
- Email : mfranecki@gmail.com
- Birthdate : 1971-08-21
- Address : 2315 Allie Knolls Suite 187 Naderland, CA 91047
- Phone : +1-762-815-4684
- Company : Rutherford, Will and Kessler
- Job : Environmental Engineering Technician
- Bio : Sed aut in praesentium. Et architecto rerum rerum voluptatibus perspiciatis. Recusandae eum tempore est quia rerum.
Socials
twitter:
- url : https://twitter.com/stephon3451
- username : stephon3451
- bio : Sunt dolorem consequatur delectus vel aperiam sed. Id quidem dolores maxime. Consequatur fugit eos harum vero.
- followers : 153
- following : 1358
instagram:
- url : https://instagram.com/stephon_steuber
- username : stephon_steuber
- bio : Illo necessitatibus aut est tenetur optio. Voluptatem aut laboriosam iusto ut.
- followers : 3564
- following : 2837
linkedin:
- url : https://linkedin.com/in/stephon_dev
- username : stephon_dev
- bio : Aliquam est sed et nemo perspiciatis rem maxime.
- followers : 1514
- following : 2513
tiktok:
- url : https://tiktok.com/@stephonsteuber
- username : stephonsteuber
- bio : Quae voluptatum corrupti repellendus est.
- followers : 1906
- following : 1356
facebook:
- url : https://facebook.com/stephon.steuber
- username : stephon.steuber
- bio : Molestias nam non cumque in saepe ea quis.
- followers : 3752
- following : 2977
