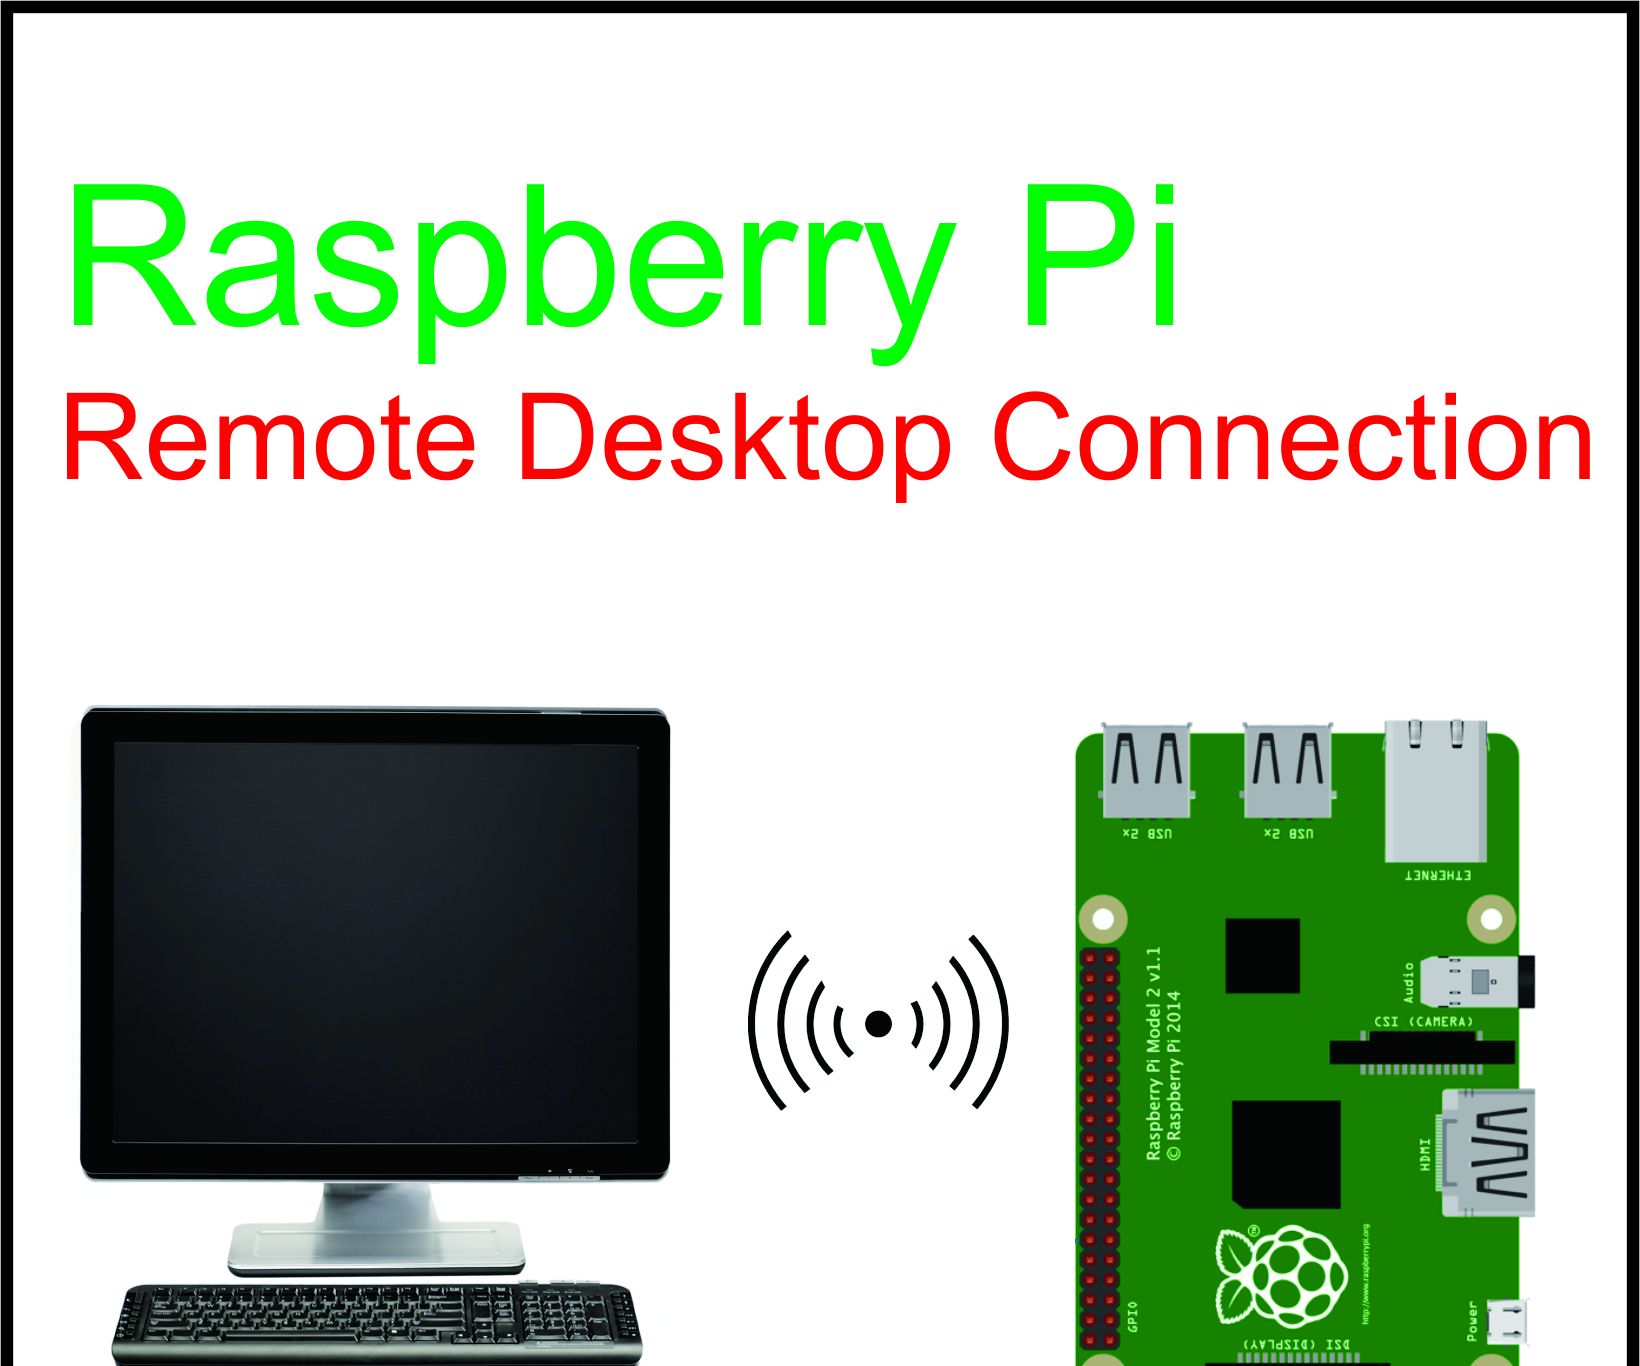
Mastering Remote Access To Raspberry Pi: Your Ultimate Guide
In today's interconnected world, the ability to remotely control your Raspberry Pi from any device connected to the internet has become not just a convenience, but often a necessity. Whether you're a hobbyist managing a home automation system, a developer deploying a server, or an educator running experiments, accessing your Raspberry Pi without being physically present opens up a world of possibilities. This comprehensive guide will walk you through the various robust and secure methods available, ensuring you can connect to your Raspberry Pi with confidence, no matter where you are.
Gone are the days when managing your single-board computer meant being tethered to a monitor, keyboard, and mouse. With advancements in networking and dedicated solutions, connecting to your Raspberry Pi remotely has never been easier—or more secure. We'll explore established protocols like SSH and VNC, delve into the revolutionary Raspberry Pi Connect, and touch upon advanced techniques like VPNs, providing you with a complete toolkit for seamless remote interaction.
Table of Contents
- Why Remote Access Your Raspberry Pi?
- Understanding Core Remote Connection Methods
- Deep Dive into SSH for Raspberry Pi
- Visual Control with VNC on Your Raspberry Pi
- The Game Changer: Raspberry Pi Connect
- Advanced Remote Access Solutions for Raspberry Pi
- Security Best Practices for Remote Access
- Troubleshooting Common Remote Connection Issues
Why Remote Access Your Raspberry Pi?
The Raspberry Pi, a versatile microcomputer, finds its place in countless projects, from home servers and media centers to IoT devices and robotics. The need to connect remote to Raspberry Pi arises from practical considerations:
- Fionn Ivan Patrick Morrison
- Layla Jenner Brother
- Indian Mms Online Watch
- Hdmovies4u Google Search
- Desi Viral Hidden Mms
- Convenience: Control your Pi from your laptop, tablet, or smartphone without needing to physically connect peripherals.
- Accessibility: Manage a Pi located in a difficult-to-reach spot, or one that's deployed far from your current location.
- Automation: Perform maintenance, run scripts, or check logs on your headless (monitor-less) Pi setups.
- Flexibility: Work on your Pi projects from anywhere with an internet connection, whether you're at home, work, or traveling.
- Security: Implement secure remote access solutions to protect your data and network.
This article will point out how various remote connection methods for the Raspberry Pi, such as SSH, VNC, and more, can be carried out effectively and securely.
Understanding Core Remote Connection Methods
When it comes to connecting to your Raspberry Pi remotely, there are primarily two fundamental types of access: text-based command line and graphical desktop interfaces. Each serves a different purpose and offers distinct advantages.
Terminal Access (Text-Based): SSH
SSH, or Secure Shell, is the go-to method for terminal access. It provides a secure channel over an unsecured network by using strong encryption. If you need to run commands, manage files, or configure settings without a graphical interface, SSH is your best friend. It's lightweight, efficient, and highly secure when configured correctly.
Graphical Desktop Access: VNC
VNC, or Virtual Network Computing, allows you to view and interact with your Raspberry Pi's desktop environment remotely. If you prefer a visual interface, need to run graphical applications, or simply feel more comfortable navigating with a mouse and keyboard, VNC is the ideal solution. It essentially streams the Pi's desktop to your client device, giving you full control as if you were sitting right in front of it.
Deep Dive into SSH for Raspberry Pi
SSH is a cornerstone of remote access for Linux-based systems, including Raspberry Pi OS. It enables you to open a secure shell session to your Pi, allowing you to execute commands as if you were directly on the device. This is often the first step for many remote administration tasks.
Enabling SSH on Your Raspberry Pi
Before you can connect to your Raspberry Pi remotely via SSH, it needs to be enabled. By default, SSH might be disabled for security reasons on newer Raspberry Pi OS images. Here's how to activate SSH:
- Using Raspberry Pi Configuration Tool (GUI):
- Boot your Raspberry Pi with a monitor and keyboard.
- Go to the Raspberry Pi icon (top-left) > Preferences > Raspberry Pi Configuration.
- Navigate to the "Interfaces" tab.
- Find "SSH" and select "Enable."
- Click "OK" and reboot your Pi.
- Using `raspi-config` (Terminal):
- Open a terminal on your Raspberry Pi.
- Type `sudo raspi-config` and press Enter.
- Navigate using the arrow keys to "Interface Options" > "SSH."
- Select "Yes" to enable SSH.
- Select "Finish" and reboot your Pi.
- Headless Setup (creating `ssh` file):
- If setting up a new Pi without a monitor, insert your SD card into your computer.
- In the boot partition (the small one that mounts automatically), create an empty file named `ssh` (no extension).
- When the Pi boots, it will detect this file and enable SSH automatically.
Once enabled, an SSH client from another computer will be able to connect to the Raspberry Pi.
Connecting via SSH with a Password
The simplest way to connect to your Raspberry Pi remotely using SSH is with a password. You'll need your Pi's IP address (which you can find using `hostname -I` on the Pi itself or by checking your router's connected devices list) and your username (default is `pi`).
- From Linux/macOS: Open a terminal and type: `ssh pi@your_pi_ip_address` (e.g., `ssh pi@192.168.1.100`). You'll be prompted for the password (default is `raspberry`).
- From Windows:
- Using Command Prompt/PowerShell: Modern Windows versions have a built-in SSH client. Open Command Prompt or PowerShell and type: `ssh pi@your_pi_ip_address`.
- Using PuTTY: Download and install PuTTY. Open PuTTY, enter your Pi's IP address in the "Host Name (or IP address)" field, ensure "Port" is 22 and "Connection type" is SSH. Click "Open." You'll then enter your username and password in the terminal window.
After successful authentication, you'll see the Raspberry Pi command prompt, ready for your commands.
Enhancing Security: SSH Without a Password (Using Keys)
While password-based SSH is convenient, using SSH keys offers significantly enhanced security and convenience, allowing you to connect to your Raspberry Pi remotely without a password. This method involves generating a pair of cryptographic keys: a private key (kept secret on your local machine) and a public key (placed on your Raspberry Pi). When you try to connect, your local machine sends the public key to the Pi, which verifies it against its stored public key. If they match, access is granted.
- Generate SSH Keys (on your local machine):
- Open a terminal (Linux/macOS) or Git Bash/WSL (Windows).
- Type: `ssh-keygen -t rsa -b 4096`
- Press Enter for default file locations and optionally set a passphrase for your private key (highly recommended).
- Copy Public Key to Raspberry Pi:
- Type: `ssh-copy-id pi@your_pi_ip_address`
- Enter your Pi's password when prompted. This command securely copies your public key to the `~/.ssh/authorized_keys` file on your Raspberry Pi.
- Alternatively, you can manually copy the content of `~/.ssh/id_rsa.pub` from your local machine and paste it into `~/.ssh/authorized_keys` on your Pi (create the `.ssh` directory and `authorized_keys` file if they don't exist, and set correct permissions: `chmod 700 ~/.ssh` and `chmod 600 ~/.ssh/authorized_keys`).
- Connect via SSH:
- Now, simply type: `ssh pi@your_pi_ip_address`
- If you set a passphrase, you'll be prompted for that, not your Pi's password. If no passphrase, you'll connect directly.
This method drastically reduces the risk of brute-force attacks and provides a much smoother connection experience.
Visual Control with VNC on Your Raspberry Pi
For those who prefer a graphical interface, VNC provides a robust solution. RealVNC Connect is a popular choice, offering a secure remote access solution for Raspberry Pi OS, allowing you to connect to your Raspberry Pi desktop.
Setting Up VNC Server on Raspberry Pi
Raspberry Pi OS comes with RealVNC Server pre-installed, making setup straightforward:
- Enable VNC:
- Go to Raspberry Pi icon > Preferences > Raspberry Pi Configuration.
- Navigate to the "Interfaces" tab.
- Find "VNC" and select "Enable."
- Click "OK" and reboot if prompted.
- Set up VNC Password:
- Once VNC is enabled, a VNC Server icon will appear in your taskbar. Click it.
- You'll be prompted to set up a password for VNC connections. This is separate from your Pi's user password.
In this guide, we’re going to walk through everything you need to know about setting up a remote desktop connection to your Raspberry Pi using RealVNC Connect.
Connecting with a VNC Client
Once the VNC server is running on your Pi, you'll need a VNC client on your local computer:
- Download VNC Viewer: Download and install RealVNC Viewer on your computer (Windows, macOS, Linux, Android, iOS).
- Connect:
- Open VNC Viewer.
- Enter your Raspberry Pi's IP address in the search bar or address field (e.g., `192.168.1.100`).
- Press Enter. You'll be prompted for the VNC password you set earlier.
- After successful authentication, you'll see your Raspberry Pi's desktop, fully interactive.
VNC works over Starlink, mobile, and CGNAT connections, making it incredibly versatile for remote access scenarios.
The Game Changer: Raspberry Pi Connect
Announced by the Raspberry Pi Foundation, Raspberry Pi Connect is a revolutionary tool that simplifies remote access, especially for graphical interfaces. It's a secure, remote GUI access solution for your Raspberry Pi, running the latest Raspberry Pi OS. The key difference with Connect is that it runs from a web browser, so we can be anywhere.
What is Raspberry Pi Connect?
Raspberry Pi Connect is the Raspberry Pi Foundation's official take on a remote desktop session, like VNC and RDP, but with a unique twist: it's entirely web-based. This means you don't need to install a specific client application on your local device. With Raspberry Pi Connect, we now have an easy way to connect to a Raspberry Pi from anywhere, using a simple web browser. It simplifies network complexities, allowing connections even when your Pi is behind firewalls or NAT without port forwarding.
Setting Up Raspberry Pi Connect
To use Connect, you'll need to install the Connect software and link your device with an account on your Raspberry Pi. This process is streamlined for ease of use:
- Update Raspberry Pi OS: Ensure your Raspberry Pi is running the latest version of Raspberry Pi OS. Open a terminal and run:
sudo apt update sudo apt full-upgrade sudo rpi-update (optional, for latest firmware) - Install Raspberry Pi Connect:
sudo apt install rpi-connect - Link Your Device: Follow the on-screen prompts to link your Raspberry Pi to your Raspberry Pi account. This typically involves opening a URL in your browser and logging in.
This article will guide you through installing, setting up, and using Raspberry Pi Connect, making the process seamless.
Accessing Your Pi with Raspberry Pi Connect
Once set up, accessing your Raspberry Pi is incredibly simple:
- Visit the Portal: Open your web browser and go to connect.raspberrypi.com.
- Log In: Log in with the same Raspberry Pi account you linked your device to.
- Select Your Pi: Your connected Raspberry Pi(s) will appear in a list. Click on the one you wish to access.
- Choose Access Type: Whether you need to control your Raspberry Pi’s desktop or use a remote shell, Connect allows you to do so directly from your web browser. You can choose between a graphical desktop session or a terminal shell running on your Pi.
Connecting to your Raspberry Pi remotely has never been easier—or more secure—thanks to Raspberry Pi Connect’s official launch out of beta. It's another added, simple, and secure means of connecting with your Raspberry Pi.
Advanced Remote Access Solutions for Raspberry Pi
The methods covered so far provide standard ways to remotely connect to your Raspberry Pi using open protocols like SSH and VNC, and the innovative Raspberry Pi Connect. However, there are also many situations where more advanced or specialized solutions might be beneficial, especially for enhanced security or complex network environments.
Using VPNs for Secure Remote Access
A Virtual Private Network (VPN) creates a secure, encrypted tunnel over a public network. When you connect to your home network via a VPN, your remote device essentially becomes part of your local network, allowing you to access your Raspberry Pi as if you were physically at home. This is an excellent option for maximum security and flexibility.
- Setting up a VPN Server on your Pi: You can turn your Raspberry Pi into a VPN server using software like Pi-hole (which includes WireGuard or OpenVPN). This allows you to securely connect to your home network from anywhere and then access your Pi via its local IP address.
- Using a Commercial VPN: While less common for direct Pi access, some users might use a commercial VPN service on their client device to secure their connection before then connecting to their Pi via SSH or VNC if the Pi is publicly accessible (though this is not recommended without other security measures).
Using a VPN is a secure remote access solution for Raspberry Pi OS, especially when you need to expose SSH or VNC on your Raspberry Pi over the open internet within a VPN, rather than directly.
External Remote Access Services
Beyond the direct methods, several third-party services offer remote access solutions that can be configured on your Raspberry Pi. These often handle the complexities of network traversal (like NAT and firewalls) for you.
- TeamViewer/AnyDesk: While more resource-intensive, these commercial remote desktop solutions can be installed on Raspberry Pi OS and offer robust, cross-platform access. They are particularly useful for non-technical users or when quick, on-demand graphical access is needed.
- Ngrok/Tailscale/ZeroTier: These services create secure tunnels or virtual networks that allow you to expose services running on your Raspberry Pi to the internet without complex port forwarding. They are excellent for specific application exposure or creating secure peer-to-peer connections. For example, you can expose SSH or VNC on your Raspberry Pi using an external tunneling service, providing secure access without direct port exposure.
Today, we will examine three methods for effectively and securely accessing your Raspberry Pi remotely, focusing on the most practical and widely adopted solutions.
Security Best Practices for Remote Access
While the convenience of remote access is undeniable, security must always be a top priority. Exposing your Raspberry Pi to the internet carries risks if not done carefully. Here are crucial security measures to implement:
- Change Default Passwords: Immediately change the default 'pi' user password and any default VNC passwords. Use strong, unique passwords.
- Use SSH Keys: As discussed, prefer SSH key-based authentication over passwords for SSH access. Disable password authentication for SSH once keys are set up.
- Update Regularly: Keep your Raspberry Pi OS and all installed software up to date (`sudo apt update && sudo apt full-upgrade`). This ensures you have the latest security patches.
- Firewall (UFW): Enable and configure a firewall (like UFW - Uncomplicated Firewall) on your Raspberry Pi to restrict incoming connections to only necessary ports (e.g., 22 for SSH, 5900 for VNC).
sudo apt install ufw sudo ufw enable sudo ufw allow ssh sudo ufw allow vnc (if using VNC) - Disable Root Login: Never allow direct SSH login for the 'root' user.
- Change SSH Port: Consider changing the default SSH port (22) to a non-standard port to deter automated scanning bots. Remember to specify the new port when connecting (`ssh -p new_port pi@your_pi_ip`).
- Two-Factor Authentication (2FA): For critical systems, consider implementing 2FA for SSH using tools like Google Authenticator PAM module.
- Use VPNs: Whenever possible, access your Raspberry Pi through a VPN, as it encrypts all traffic and makes your Pi appear as if it's on your local network.
- Limit Exposure: Only expose services (SSH, VNC) to the internet if absolutely necessary. Use Raspberry Pi Connect or VPNs which are designed to handle secure tunneling without direct port exposure.
- Monitor Logs: Regularly check system logs for suspicious activity.
By following these best practices, you can significantly reduce the risk of unauthorized access and ensure your Raspberry Pi remains secure while you connect remote to Raspberry Pi.
Troubleshooting Common Remote Connection Issues
Even with the best setup, you might encounter issues when trying to connect to your Raspberry Pi remotely. Here are some common problems and their solutions:
- "Connection Refused" (SSH/VNC):
- SSH/VNC not enabled: Double-check that SSH and/or VNC are enabled in Raspberry Pi Configuration.
- Service not running: Ensure the SSH service (`sudo systemctl status ssh`) or VNC server is running on the Pi.
- Firewall blocking: Check if your Pi's firewall (UFW) or your router's firewall is blocking the connection. Allow ports 22 (SSH) or 5900 (VNC).
- "Connection Timed Out":
- Incorrect IP address: Verify you're using the correct IP address for your Raspberry Pi.
- Pi is off/unreachable: Ensure your Raspberry Pi is powered on and connected to the network.
- Network issues: Check your local network connection and the Pi's network connection.
- Port forwarding issues (if applicable): If connecting from outside your local network and not using Connect or a VPN, ensure port forwarding is correctly configured on your router.
- Authentication Failures:
- Incorrect username/password: Double-check your credentials. Remember SSH and VNC can have separate passwords.
- SSH key issues: If using SSH keys, ensure the public key is correctly installed on the Pi and the private key is accessible on your client.
- Slow/Laggy VNC Connection:
- Network bandwidth: VNC requires more bandwidth than SSH. A slow internet connection will cause lag.
- Resolution settings: Lower the VNC resolution or color depth in the VNC server settings on your Pi to reduce data transfer.
- Hardware limitations: Older Raspberry Pi models might struggle with very high resolutions or complex graphical tasks over VNC.
- Raspberry Pi Connect Issues:
- Not linked: Ensure your Pi is correctly linked to your Raspberry Pi account.
- Pi is offline: Connect requires your Pi to be online and able to reach the Raspberry Pi Connect servers.
- Software not updated: Ensure `rpi-connect` is installed and your Raspberry Pi OS is up to date.
These troubleshooting steps should help you diagnose and resolve most common issues when trying to connect remote to Raspberry Pi.
Conclusion
The ability to connect remote to Raspberry Pi has truly revolutionized how we interact with these powerful little computers. From the robust command-line control offered by SSH to the intuitive graphical interface of VNC, and now the groundbreaking simplicity of Raspberry Pi Connect, the options for accessing your Pi from anywhere are more diverse and secure than ever before. We've explored 9 ways to access your Raspberry Pi remotely, breaking up the different ways to remote access a Raspberry Pi into a few different categories, providing you with a comprehensive understanding of each method.
Whether you're managing a headless server, developing an IoT project, or simply want the flexibility to access your Pi's desktop from your web browser, the tools are readily available. Remember to prioritize security by implementing strong passwords, using SSH keys, and enabling firewalls. By mastering these remote connection techniques, you unlock the full potential of your Raspberry Pi, allowing you to innovate and control your projects with unparalleled freedom. We hope this guide has been invaluable in your journey to seamlessly connect to your Raspberry


Detail Author:
- Name : Dr. Judd Cummerata
- Username : marks.eunice
- Email : fruecker@murazik.net
- Birthdate : 1971-06-08
- Address : 4895 Cathryn Prairie Apt. 879 West Trevionchester, VT 90898-0107
- Phone : (508) 644-8161
- Company : Durgan, Ferry and Cartwright
- Job : Construction Laborer
- Bio : Nam et saepe omnis harum non. Occaecati qui reiciendis et excepturi. Debitis quibusdam nostrum et dolorem corporis quod. Nihil omnis omnis dignissimos praesentium fuga optio ab.
Socials
instagram:
- url : https://instagram.com/ephraim_grady
- username : ephraim_grady
- bio : Vero dolorem ut et. Est asperiores quos sed qui voluptatum consequatur quaerat vitae.
- followers : 6293
- following : 602
linkedin:
- url : https://linkedin.com/in/egrady
- username : egrady
- bio : Illum nulla omnis libero eius expedita.
- followers : 6874
- following : 2520
facebook:
- url : https://facebook.com/ephraim_id
- username : ephraim_id
- bio : Perferendis aut est maiores.
- followers : 5077
- following : 1649
tiktok:
- url : https://tiktok.com/@gradye
- username : gradye
- bio : Dolores et et ipsa voluptas. Incidunt odit ut dolor dolores.
- followers : 4030
- following : 2566
twitter:
- url : https://twitter.com/ephraim_xx
- username : ephraim_xx
- bio : Aliquam et distinctio harum ea velit quibusdam. Blanditiis omnis harum enim voluptas unde ut consequatur sequi. Velit qui velit aut quae.
- followers : 6104
- following : 2619
