Mastering Secure IoT: Raspberry Pi, AWS VPC, And Remote Access
In today's interconnected world, the ability to securely connect remote IoT VPC on AWS with Raspberry Pi devices has become a cornerstone for innovators and businesses alike. Managing devices deployed across vast geographical distances, from smart homes to industrial sensors, demands a robust and impenetrable network architecture. This guide delves deep into establishing such a secure ecosystem, ensuring your data remains private and your devices are always under your control.
The proliferation of Internet of Things (IoT) devices brings immense potential for automation, data collection, and remote control. However, this convenience comes with significant security challenges. Connecting low-power, often resource-constrained devices like the Raspberry Pi to a cloud environment like Amazon Web Services (AWS) requires careful planning, especially when dealing with sensitive data or critical operations. This article will provide a comprehensive, step-by-step walkthrough, equipping you with the knowledge to build a secure, scalable, and reliable IoT infrastructure using Raspberry Pi and AWS Virtual Private Cloud (VPC).
Table of Contents:
- Is Yasmeen Ghauris Daughter A Model
- Wwwmydesi2net
- Dolphy Family Tree
- Vegamoviescom Hindi
- Hollywood Bollyflix
- Understanding the Landscape: IoT, Raspberry Pi, and AWS VPC
- The Imperative of Secure Connections for Remote IoT
- Laying the Foundation: Setting Up Your Raspberry Pi for Remote Access
- Designing Your Secure AWS VPC for IoT Devices
- Establishing the Secure SSH Connection: Raspberry Pi to AWS VPC
- Managing and Downloading Files: Remote IoT VPC SSH Raspberry Pi AWS Download
- Best Practices for a Robust and Scalable IoT Infrastructure
- Beyond the Basics: Expanding Your Secure IoT Ecosystem
Understanding the Landscape: IoT, Raspberry Pi, and AWS VPC
The Internet of Things (IoT) represents a paradigm shift in how we interact with the physical world, bringing everyday objects online to collect and exchange data. From smart home devices that adjust lighting based on your presence to industrial sensors monitoring machinery health, IoT is transforming industries and daily life. At the heart of many IoT projects, especially those requiring edge computing capabilities, lies the Raspberry Pi. This credit-card-sized computer is celebrated for its versatility, affordability, and robust community support, making it an ideal candidate for a wide array of IoT applications, from simple sensor nodes to complex data aggregators.
However, for IoT deployments to be truly effective and scalable, they need a reliable and secure backend. This is where Amazon Web Services (AWS) comes into play. AWS offers a vast suite of cloud services, providing the computational power, storage, and networking capabilities needed to manage thousands, even millions, of IoT devices. Central to this secure environment is the AWS Virtual Private Cloud (VPC). An AWS VPC is essentially your own private, isolated network within the AWS cloud. Think of it as your personal, logically isolated data center, where you have complete control over your network environment, including IP address ranges, subnets, route tables, and network gateways. This isolation is critical for security, as it prevents unauthorized access and ensures that your IoT devices communicate only within a defined and protected space. The synergy of Raspberry Pi as an edge device and AWS VPC as a secure cloud backbone allows for powerful, scalable, and most importantly, secure IoT solutions.
The Imperative of Secure Connections for Remote IoT
In the realm of IoT, security is not merely an add-on; it's a fundamental requirement. The sheer volume of data generated by IoT devices, often including sensitive personal information or critical operational metrics, makes them prime targets for cyberattacks. An insecure IoT device can be a gateway for malicious actors to infiltrate your entire network, leading to data breaches, service disruptions, or even physical harm in industrial settings. This is precisely why the emphasis is on how to securely connect remote IoT devices to a VPC using Raspberry Pi and AWS.
- Camilla Araujo Nude Video
- Selina Imai
- Lori Zwicklbauer Oggi
- Mp4moviez Nl
- Vegamovies Hindi Dubbed Download
The risks associated with insecure IoT deployments are multifaceted. They range from unauthorized access to devices, allowing attackers to manipulate their functions or steal data, to denial-of-service attacks that render devices inoperable. Furthermore, compromised IoT devices can be co-opted into botnets, launching large-scale attacks on other systems. When you connect your Raspberry Pi devices, which might be located anywhere in the world, to your cloud infrastructure, every connection point becomes a potential vulnerability. Therefore, implementing robust security measures, such as virtual private clouds, strong authentication, and encryption, is non-negotiable. The goal is to create an environment where data integrity and confidentiality are guaranteed, and devices are authenticated before any communication occurs, thereby safeguarding sensitive data and ensuring the reliability of your entire IoT ecosystem.
Laying the Foundation: Setting Up Your Raspberry Pi for Remote Access
Before we delve into the intricacies of AWS, the first step is to prepare your Raspberry Pi for remote connectivity. This involves installing the operating system, enabling necessary services, and implementing basic security measures. For an IoT device, it's often recommended to use a lightweight OS like Raspberry Pi OS Lite (the command-line only version) to minimize resource usage and reduce the attack surface.
Here's a step-by-step guide to setting up your Raspberry Pi:
- Download and Flash Raspberry Pi OS:
- Go to the official Raspberry Pi website and download the Raspberry Pi OS Lite image.
- Use a tool like Balena Etcher or Raspberry Pi Imager to flash the OS onto a microSD card.
- Enable SSH:
- For headless setup (without a monitor), you can enable SSH by creating an empty file named
ssh(no extension) in the boot directory of the flashed microSD card. - Alternatively, after booting, you can enable it via
sudo raspi-config-> Interface Options -> SSH.
- For headless setup (without a monitor), you can enable SSH by creating an empty file named
- Initial Boot and Network Configuration:
- Insert the microSD card into your Raspberry Pi and power it on.
- If connecting via Ethernet, it should automatically get an IP address. For Wi-Fi, you'll need to configure
wpa_supplicant.confin the boot partition or connect a monitor/keyboard for initial setup.
- Change Default Credentials:
- The default username is
piand the password israspberry. This is a critical security vulnerability. Immediately change the password usingpasswdcommand. - Consider creating a new user and disabling the default 'pi' user, or at least restricting its permissions.
- The default username is
- Update Your Raspberry Pi:
- Run
sudo apt update && sudo apt upgrade -yto ensure all software packages are up to date. This is crucial for patching security vulnerabilities.
- Run
- Generate SSH Key Pair (Optional but Recommended):
- While you can use password-based SSH, key-based authentication is far more secure.
- On your local machine, generate an SSH key pair:
ssh-keygen -t rsa -b 4096. - Copy the public key (
id_rsa.pub) to your Raspberry Pi:ssh-copy-id pi@your_pi_ip. - Then, disable password authentication in
/etc/ssh/sshd_configon the Pi by settingPasswordAuthentication noand restarting the SSH service.
By completing these steps, your Raspberry Pi will be ready to communicate securely and receive further configurations from your AWS VPC environment.
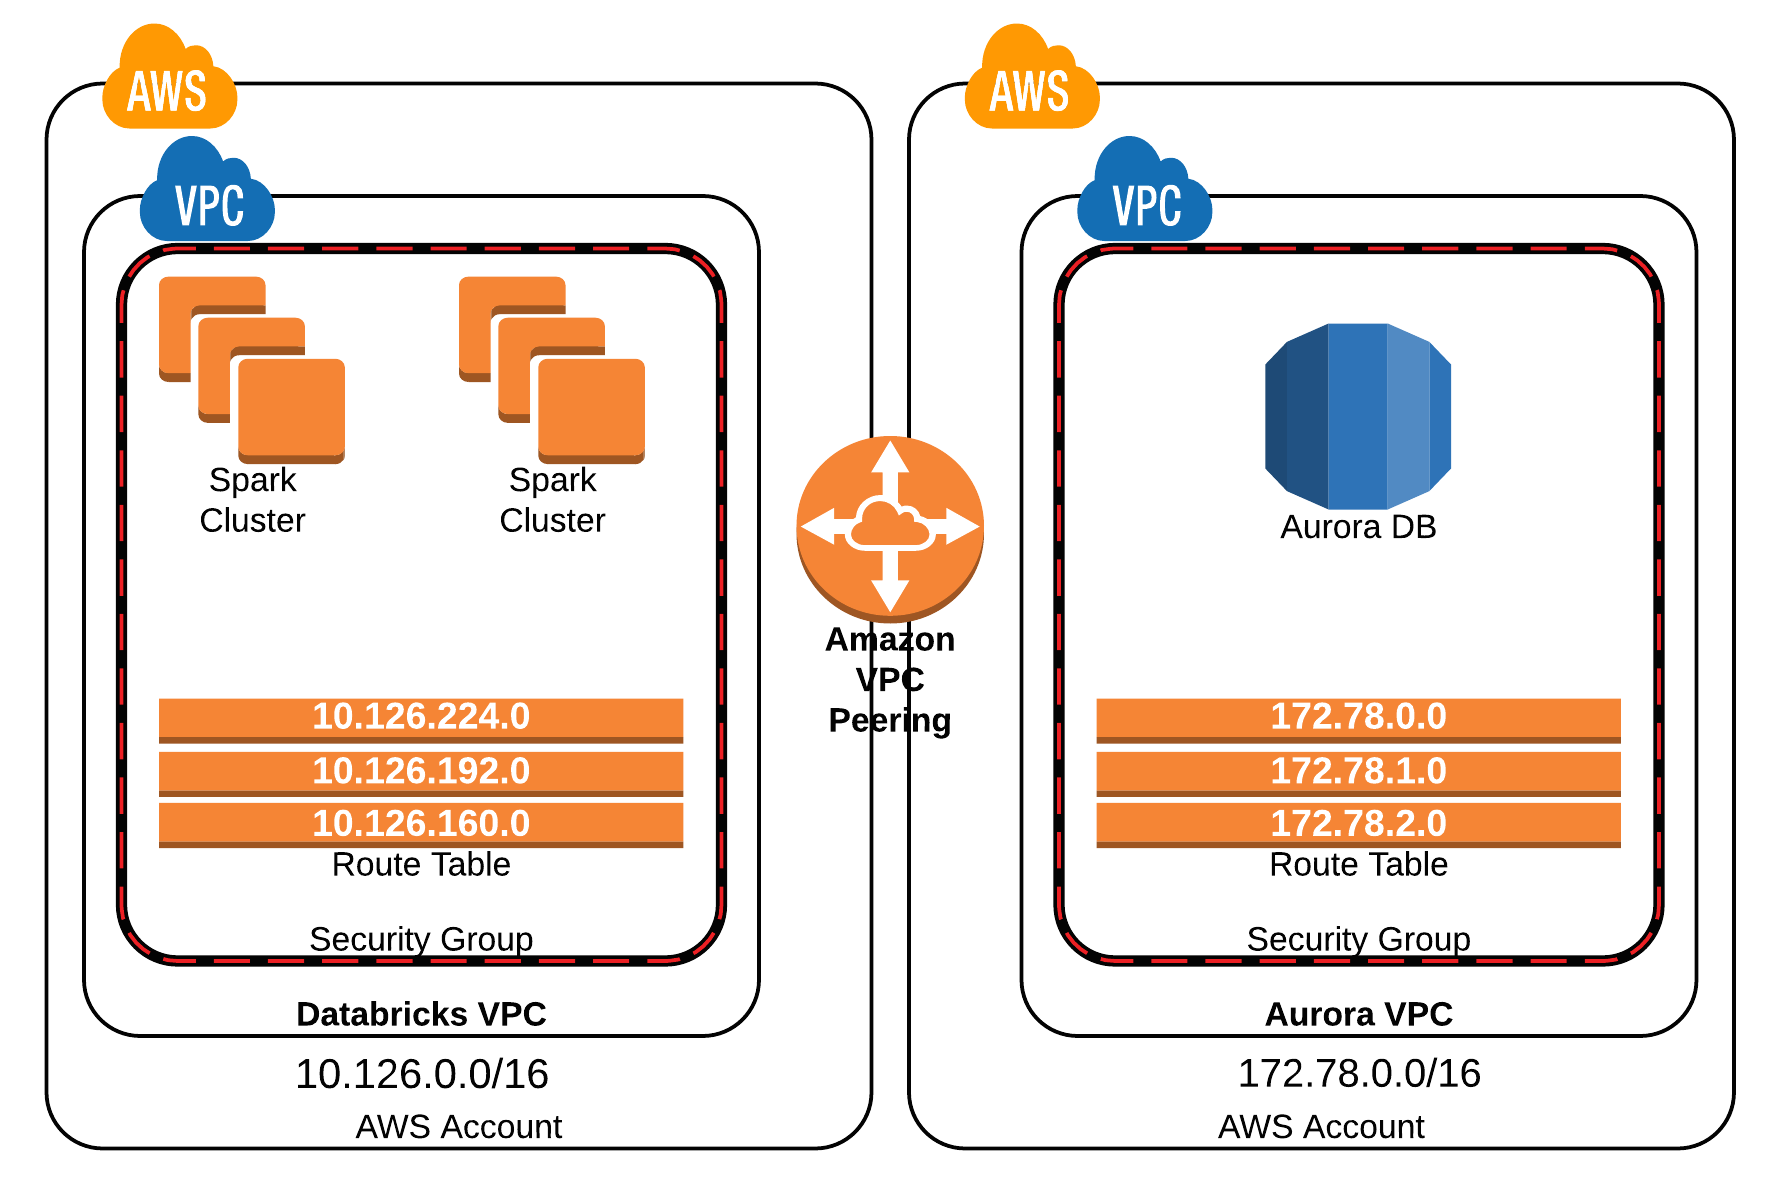
Designing Your Secure AWS VPC for IoT Devices
The core of securely connecting your Raspberry Pi to AWS lies in a well-designed Virtual Private Cloud (VPC). This section will guide you through creating a network architecture that prioritizes isolation and controlled access for your IoT devices.
VPC Basics and Subnets
When you create a VPC, you define its IP address range using CIDR (Classless Inter-Domain Routing) notation, for example, 10.0.0.0/16. Within this VPC, you segment your network into subnets. Subnets are ranges of IP addresses in your VPC. For a robust IoT setup, you typically want:
- Public Subnet: This subnet is connected to the internet via an Internet Gateway. It's where you might place a "bastion host" or a VPN server, which acts as a secure jump box for administrative access into your private network.
- Private Subnet(s): These subnets have no direct route to the internet. This is where your Raspberry Pi IoT devices will reside. All inbound and outbound traffic for these devices will be strictly controlled, typically routed through a NAT Gateway in a public subnet for outbound internet access (e.g., for software updates) or through a VPN connection for inbound management.
The principle here is "least privilege" – your IoT devices should only have access to what they absolutely need, and they should not be directly exposed to the public internet.
Network Access Control Lists (NACLs) and Security Groups
AWS provides two layers of firewall security for your VPC:
- Network Access Control Lists (NACLs): These act as stateless firewalls at the subnet level. They evaluate rules for both inbound and outbound traffic. NACLs are good for broad filtering (e.g., blocking all traffic from a known malicious IP range). They are stateless, meaning if you allow an inbound request, you must also explicitly allow the outbound response.
- Security Groups: These act as stateful firewalls at the instance (or ENI - Elastic Network Interface) level. They remember the state of connections, so if you allow inbound SSH, the outbound response is automatically allowed. Security Groups are more granular and are typically used to control traffic to and from individual instances.
For your IoT setup, you'll use Security Groups extensively. For example, your Raspberry Pi's security group in the private subnet should only allow inbound SSH traffic from your bastion host's IP address and outbound traffic to specific AWS services (like IoT Core endpoints) or to the NAT Gateway. This granular control is vital for a secure environment, preventing unauthorized access and ensuring that only legitimate communication paths are open.
VPN or Direct Connect for Secure Entry
To securely access your Raspberry Pi via SSH with remote IoT VPC on AWS, you need a secure entry point into your private subnet. There are several options:
- Bastion Host (Jump Box): This is an EC2 instance located in a public subnet. You SSH into the bastion host from your local machine, and then from the bastion host, you SSH into your Raspberry Pi in the private subnet. The bastion host should have a very restrictive Security Group, only allowing SSH from your trusted IP addresses.
- AWS Client VPN: This managed service allows you to establish a secure VPN connection from your local machine directly into your VPC. It's a highly secure and scalable solution, eliminating the need to manage a separate VPN server. Once connected, your local machine acts as if it's directly within your VPC, allowing you to SSH into your Raspberry Pi.
- Site-to-Site VPN: If you have an on-premises network, you can establish a Site-to-Site VPN connection between your network and your AWS VPC. This creates a secure tunnel, allowing devices on your local network to communicate with devices in your VPC.
- AWS Direct Connect: For enterprise-grade, dedicated network connections, Direct Connect provides a private connection between your data center and AWS, bypassing the public internet entirely. This offers the highest level of security and performance but comes with a higher cost.
For most individual or small-scale deployments, a bastion host or AWS Client VPN are excellent choices for establishing a secure and controlled access path into your private IoT network.
Establishing the Secure SSH Connection: Raspberry Pi to AWS VPC
With your Raspberry Pi configured and your AWS VPC designed, the next crucial step is to establish the SSH connection. This is how you will remotely manage your devices, send commands, and initiate data transfers. Remember, Connecting your Raspberry Pi to AWS using remote IoT VPC SSH is a powerful way to expand your IoT capabilities and manage devices securely from anywhere in the world.
The process generally involves these steps:
- Ensure SSH Key Authentication: As mentioned in the Raspberry Pi setup, using SSH keys is paramount. Your local machine will use its private key to authenticate with the Raspberry Pi.
- Connect to Your VPC's Entry Point:
- If using a Bastion Host: First, SSH into your bastion host using its public IP address and the SSH key associated with the EC2 instance.
Once inside the bastion host, you will then SSH into your Raspberry Pi using its private IP address within the VPC. Ensure your Raspberry Pi's SSH public key is on the bastion host, or use SSH agent forwarding.ssh -i /path/to/your/bastion_key.pem ec2-user@BASTION_HOST_PUBLIC_IPssh -A ec2-user@BASTION_HOST_PUBLIC_IP # from local ssh pi@RASPBERRY_PI_PRIVATE_IP # from bastion host - If using AWS Client VPN: Connect to your Client VPN endpoint using the AWS VPN Client software. Once connected, your local machine effectively becomes part of your VPC network. You can then directly SSH into your Raspberry Pi using its private IP address.
ssh -i /path/to/your/raspberry_pi_key.pem pi@RASPBERRY_PI_PRIVATE_IP
- If using a Bastion Host: First, SSH into your bastion host using its public IP address and the SSH key associated with the EC2 instance.
- Verify Connectivity: Once connected, you should see the Raspberry Pi command prompt. You can run commands like
ls,df -h, oruptimeto confirm that you have full remote access.
This secure SSH tunnel provides the foundation for all subsequent remote operations, including diagnostics, software updates, and, critically, file management. The ability to initiate a secure connection from your local machine, traverse your private AWS VPC, and land directly on your remote Raspberry Pi is a testament to the power of this architecture.
Managing and Downloading Files: Remote IoT VPC SSH Raspberry Pi AWS Download
Once you have a secure SSH connection established, the next logical step for many IoT applications is to manage and transfer files. Whether it's configuration files, software updates, or collected sensor data, the ability to perform a remote IoT VPC SSH Raspberry Pi AWS download is essential. This capability allows you to retrieve data from your devices for analysis or push new instructions to them, all within your secure network.
Secure File Transfer Protocols
SSH itself provides secure channels for file transfer. The most common protocols leveraging SSH for file transfer are:
- SCP (Secure Copy Protocol): A command-line utility for copying files between hosts on a network. It uses SSH for data transfer and authentication. It's straightforward and efficient for simple file copies.
- To download a file from Raspberry Pi to your local machine (via bastion or VPN):
scp -i /path/to/your/key.pem pi@RASPBERRY_PI_PRIVATE_IP:/path/to/remote/file /path/to/local/destination - To upload a file from your local machine to Raspberry Pi:
scp -i /path/to/your/key.pem /path/to/local/file pi@RASPBERRY_PI_PRIVATE_IP:/path/to/remote/destination
- To download a file from Raspberry Pi to your local machine (via bastion or VPN):
- SFTP (SSH File Transfer Protocol): A network protocol that provides file access, file transfer, and file management over any reliable data stream. It's more feature-rich than SCP, offering capabilities like directory listing, file deletion, and resuming interrupted transfers. SFTP is often preferred for more complex file management tasks.
- You can use command-line SFTP clients or graphical clients.
- Command-line:
sftp -i /path/to/your/key.pem pi@RASPBERRY_PI_PRIVATE_IP. Once connected, you can use commands likeget(download),put(upload),ls,cd.
Seamlessly Download Files to Your Windows 10 (or other OS)
For users on Windows, macOS, or Linux, several graphical tools simplify the process of file transfer, making it feel intuitive and seamless:
- WinSCP (Windows): A popular free SFTP, SCP, FTP, FTPS and WebDAV client for Microsoft Windows. It provides a graphical user interface to copy files between a local and a remote computer. You can configure it to use your SSH private key and connect through your bastion host or directly if using AWS Client VPN. WinSCP makes it incredibly easy to seamlessly download files onto your Windows 10 machine.
- FileZilla (Cross-platform: Windows, macOS, Linux): While primarily an FTP client, FileZilla also supports SFTP. It offers a user-friendly interface for drag-and-drop file transfers.
- Cyberduck (macOS, Windows): Another excellent cross-platform client that supports SFTP among other protocols.
When using these graphical tools, you'll typically configure them with the private IP address of your Raspberry Pi (if connected via VPN) or the public IP of your bastion host (if using a jump box), along with your SSH private key. These tools abstract away the command-line complexities, providing a visual representation of your remote file system, making it simple to navigate, upload, and download files. This capability is vital for retrieving sensor data logs, updating device firmware, or deploying new application code to your remote Raspberry Pi devices, all while maintaining the integrity and security of your private cloud environment.
Best Practices for a Robust and Scalable IoT Infrastructure
Building a secure connection is just the beginning. To ensure your IoT infrastructure remains robust, scalable, and resilient, adherence to best practices is paramount. Learn security best practices & setup for a robust IoT infrastructure on AWS to protect your valuable assets and data.
- Principle of Least Privilege: Grant only the minimum necessary permissions to users, applications, and devices. For example, your Raspberry Pi should only have the AWS IAM permissions it needs to interact with specific AWS services (e.g., IoT Core, S3 for data storage), and no more. Similarly, SSH users should have limited access.
- Regular Security Audits and Updates:
- Software Updates: Keep your Raspberry Pi OS and all installed software packages up-to-date (
sudo apt update && sudo apt upgrade). Regularly patch your AWS EC2 instances (if using a bastion host) and review AWS security advisories. - Security Audits: Periodically review your VPC configuration, Security Groups, NACLs, and IAM policies. Look for overly permissive rules or unused resources that could pose a risk.
- Software Updates: Keep your Raspberry Pi OS and all installed software packages up-to-date (
- Monitoring and Logging:


Detail Author:
- Name : Liliane Hodkiewicz
- Username : easter68
- Email : marjory.gulgowski@lemke.info
- Birthdate : 1993-02-23
- Address : 6707 Metz Light Apt. 504 West Flo, NY 77243
- Phone : 347-780-0909
- Company : Rippin, Mohr and Adams
- Job : Crossing Guard
- Bio : Earum provident saepe aut recusandae. Doloribus asperiores commodi omnis sit aut voluptatibus. Porro inventore possimus ut tempora.
Socials
instagram:
- url : https://instagram.com/gail.farrell
- username : gail.farrell
- bio : Voluptatem illo fugit enim aut velit esse. Quis nesciunt debitis eos dolor eos.
- followers : 2718
- following : 1177
facebook:
- url : https://facebook.com/farrell1970
- username : farrell1970
- bio : Deserunt maxime sunt rerum. Doloremque nostrum vel quis sed.
- followers : 135
- following : 2186
tiktok:
- url : https://tiktok.com/@gail9250
- username : gail9250
- bio : Aut nulla id voluptatibus ut blanditiis exercitationem dolores.
- followers : 3884
- following : 1364
twitter:
- url : https://twitter.com/farrellg
- username : farrellg
- bio : Saepe aperiam similique reprehenderit vel quam. Assumenda cumque in nobis dicta et voluptate nesciunt dolorem. Et et harum omnis illo consequatur.
- followers : 2022
- following : 975
linkedin:
- url : https://linkedin.com/in/gail3298
- username : gail3298
- bio : Voluptas necessitatibus ea est ut facere est.
- followers : 4762
- following : 1070
