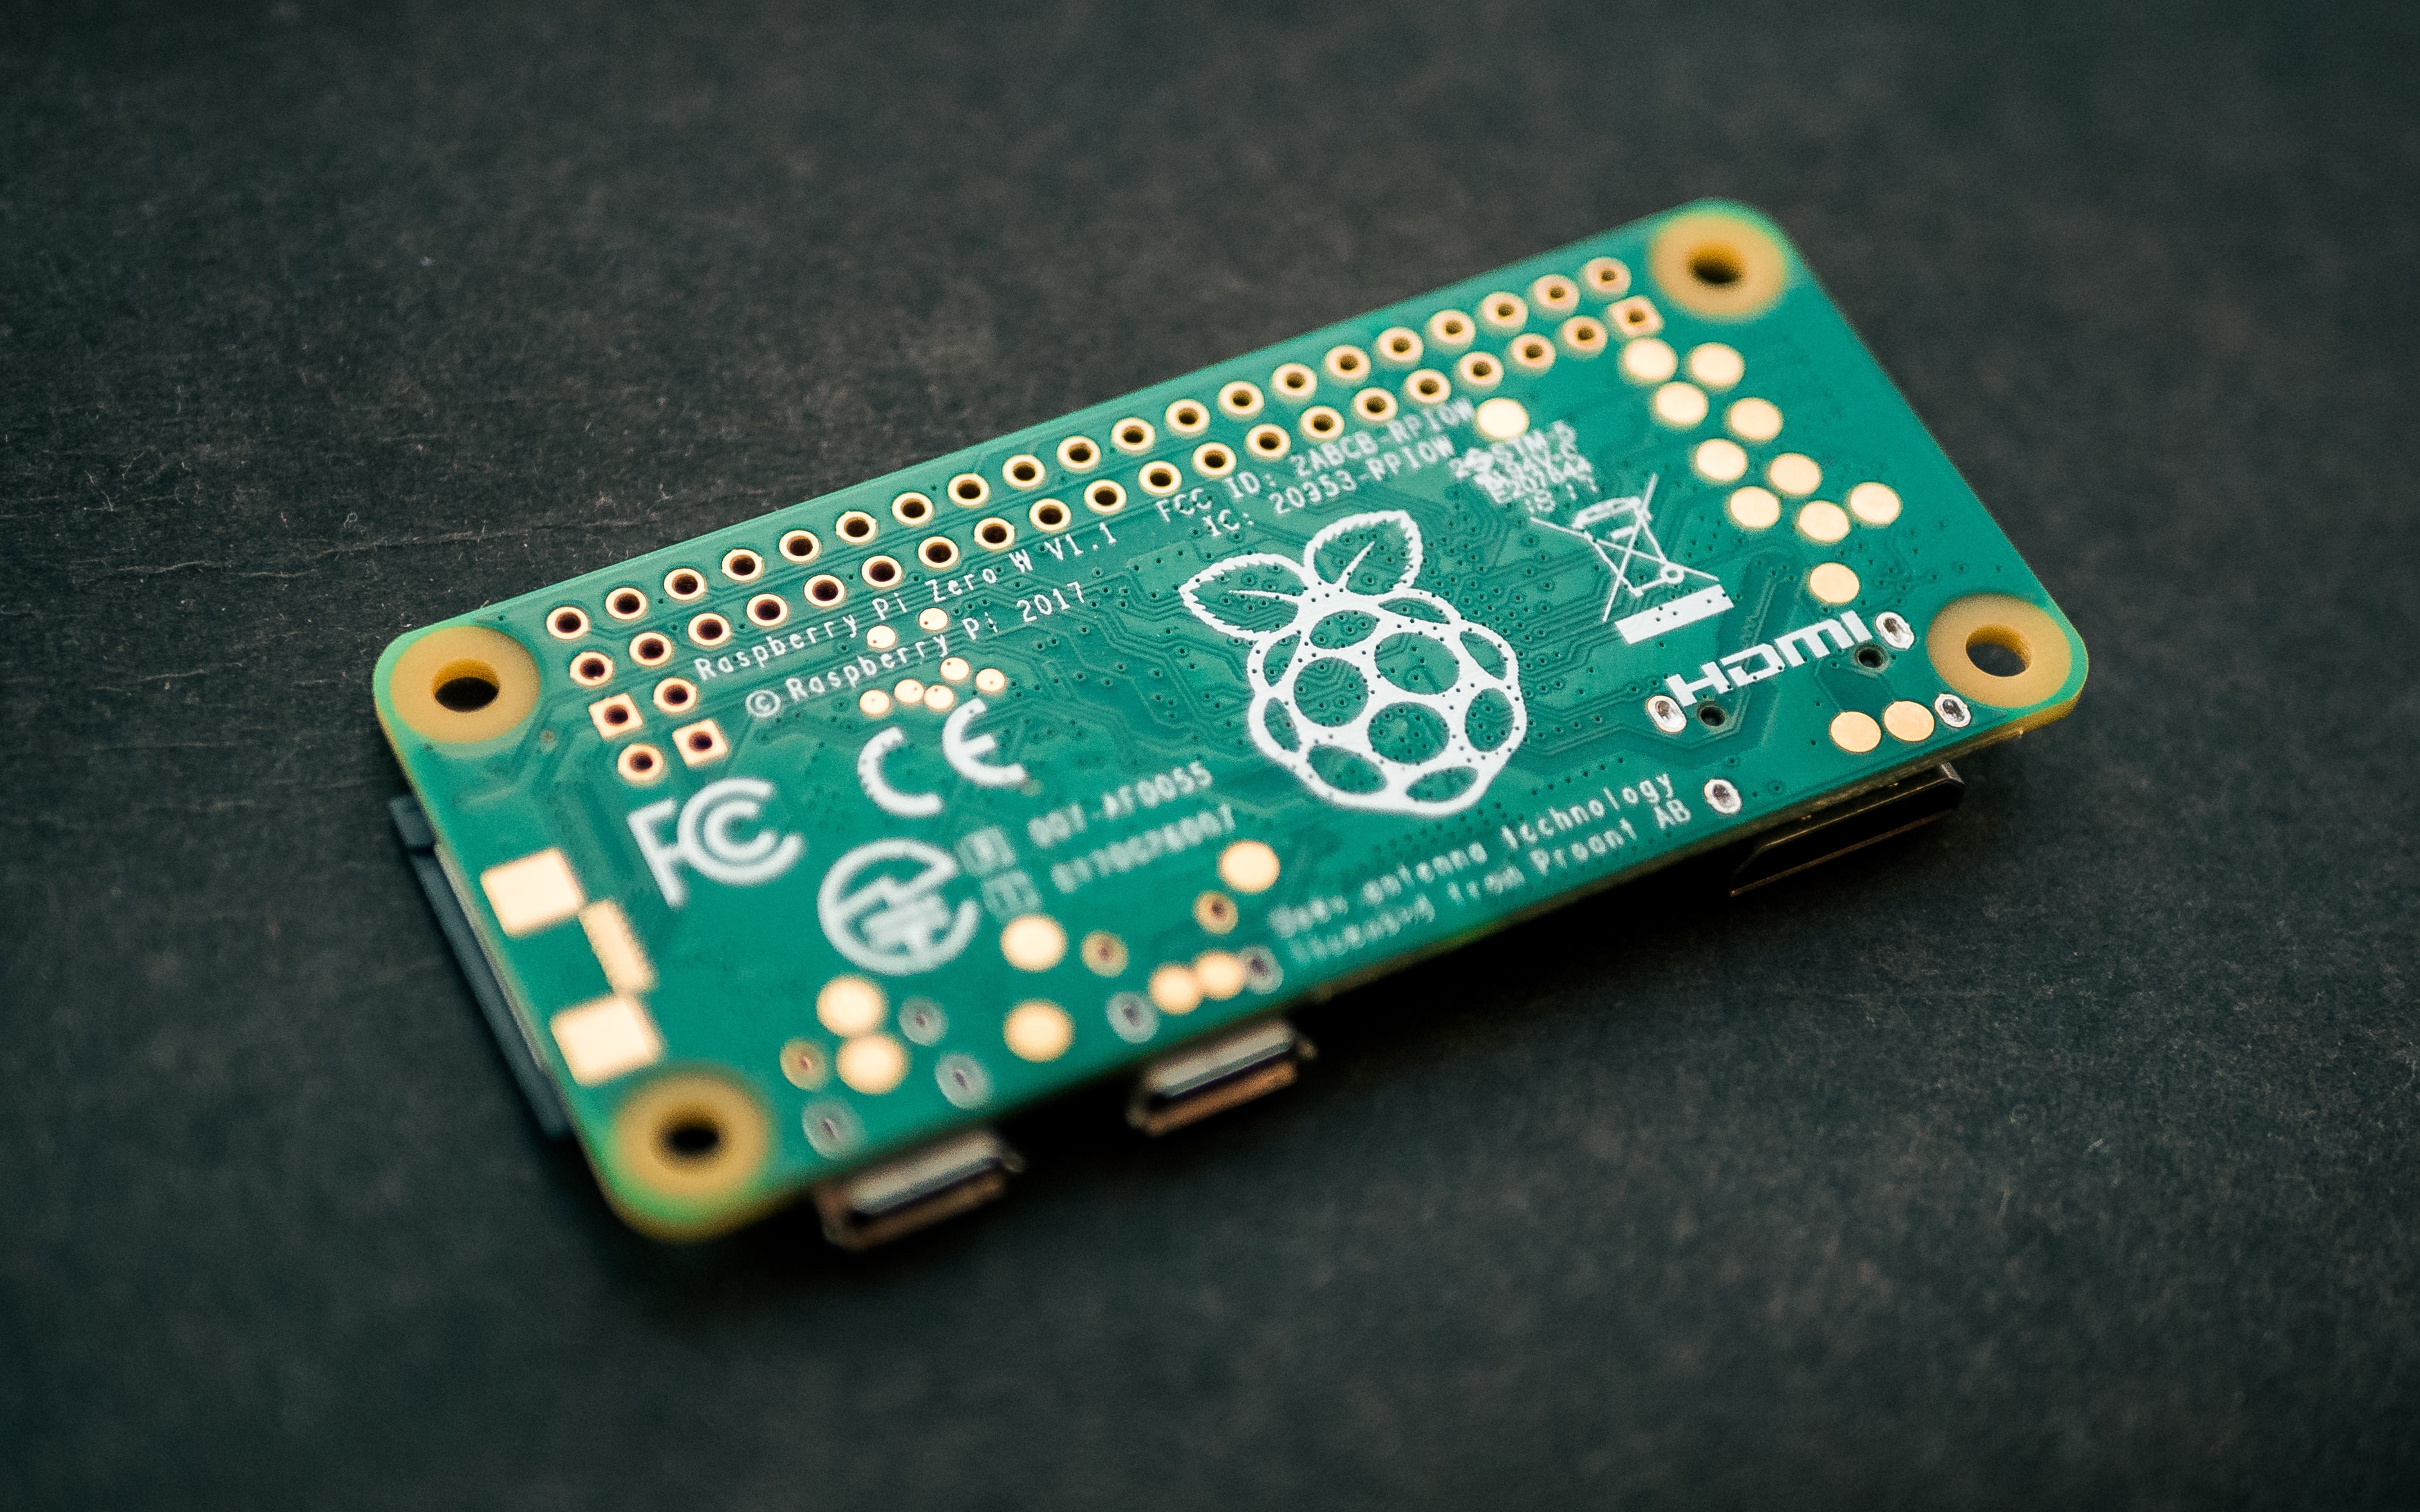
Unlock Your Pi: Access Raspberry Pi Outside Network Safely
The dream of controlling your Raspberry Pi from anywhere in the world, whether you're on vacation, at work, or simply away from home, is a powerful motivator for many tech enthusiasts. The ability to monitor sensors, manage a home automation system, or even just access files on your tiny computer without being physically present offers unparalleled convenience and opens up a world of possibilities for your projects. However, the challenge often lies in figuring out how to effectively and securely **access Raspberry Pi outside network** boundaries, moving beyond the confines of your local Wi-Fi.
While connecting to your Raspberry Pi within your home network is straightforward, reaching it from the vast expanse of the internet presents a unique set of hurdles. These challenges primarily revolve around network security, dynamic IP addresses, and the complexities of router configurations. This comprehensive guide will demystify the process, exploring various robust and secure methods to **connect to your Raspberry Pi from outside your network** and unlock its full remote potential, ensuring your projects remain accessible and protected.
Table of Contents
- Why Remote Access Your Raspberry Pi?
- Understanding the Challenge: Local vs. External Network
- Traditional Approach: Port Forwarding and Its Risks
- Enhanced Security with Virtual Private Networks (VPNs)
- Simplifying Remote Access with Tunneling Tools: Ngrok
- Streamlined Solutions: Third-Party IoT Remote Access Platforms
- Critical Security Best Practices for Remote Access
- Choosing the Right Method for Your Needs
Why Remote Access Your Raspberry Pi?
The utility of a Raspberry Pi extends far beyond its physical location. Imagine having a home automation server that you can tweak from your office, a personal cloud storage solution accessible from your mobile phone while away, or a surveillance camera feed you can check from anywhere. These scenarios, and countless others, highlight the immense value of being able to **access Raspberry Pi outside network** boundaries. Remote access empowers you to: * **Monitor and Control:** Keep an eye on sensors, manage smart home devices, or trigger actions remotely. * **Troubleshoot and Maintain:** Fix issues, update software, or restart services without needing to be physically present. * **Data Access:** Retrieve files, check logs, or upload new content to your Pi's storage from any internet-connected device. * **Collaboration:** Grant others access to your Pi from outside your network for collaborative projects or support. * **Project Flexibility:** Deploy your Pi in remote locations (e.g., a weather station in a garden shed) and still maintain full control. Without remote access, your Raspberry Pi projects are confined to your local network, significantly limiting their potential and your convenience.Understanding the Challenge: Local vs. External Network
Before diving into solutions, it's crucial to understand why accessing your Raspberry Pi from outside your home network isn't as simple as typing an IP address. Your home network operates behind a router, which acts as a gatekeeper, assigning private IP addresses to all your devices (like your Pi, phone, and laptop). These private IPs are only visible within your local network. When you try to connect from the internet, you're trying to reach your router's public IP address. Your router then needs to know *which* specific device on your private network you want to reach. This is where the complexity arises. Without proper configuration, external connection attempts are blocked by your router's firewall, designed to protect your internal network from unauthorized access. The goal is to create a secure pathway through this firewall to your Raspberry Pi.Traditional Approach: Port Forwarding and Its Risks
One of the oldest and most commonly discussed methods for enabling external access is port forwarding. This technique essentially tells your router to direct incoming traffic on a specific public port to a specific private IP address and port on your local network. For example, you might forward public port 22 (for SSH) to your Raspberry Pi's private IP address on port 22.The Process of Port Forwarding
To **access your Raspberry Pi from outside your local network, you'll need to set up port forwarding**. The general steps involve: 1. **Access your router’s admin panel by entering its IP address in a browser.** This IP is usually something like 192.168.1.1 or 192.168.0.1. You'll need your router's username and password. 2. Navigate to the "Port Forwarding" or "NAT" section. 3. Create a new rule: * Specify the external (public) port you want to open. * Specify the internal (private) IP address of your Raspberry Pi. * Specify the internal (private) port on your Raspberry Pi (e.g., 22 for SSH, 5900 for VNC). * Select the protocol (TCP/UDP). 4. Save the settings. Additionally, if your internet service provider (ISP) assigns you a dynamic public IP address (which is common for residential connections), your public IP will change periodically. To overcome this, you'd typically set up a Dynamic DNS (DDNS) service. This service maps a memorable hostname (e.g., `myrpi.ddns.net`) to your dynamic public IP address, automatically updating the mapping whenever your IP changes.Inherent Security Vulnerabilities
While port forwarding is effective, it comes with significant security implications. **Expose SSH or VNC on your Raspberry Pi over the open internet** without proper precautions is akin to leaving your front door unlocked. Every device connected to the internet is constantly being scanned by malicious actors looking for open ports and vulnerable services. Opening a port on your public interface creates a direct pathway from the internet to your Raspberry Pi. If your Pi's SSH service isn't properly secured (e.g., weak passwords, no SSH key authentication), it becomes a prime target for brute-force attacks. Similarly, exposing VNC can lead to unauthorized access if not protected. This is why many experts advise against directly exposing services via port forwarding unless absolutely necessary and with robust security measures in place. The phrase "If you don't want to open a remote display port on your public interface, which I understand" highlights this common concern.Enhanced Security with Virtual Private Networks (VPNs)
A much more secure approach to **access Raspberry Pi outside network** is to use a Virtual Private Network (VPN). A VPN creates an encrypted tunnel between your remote device and your home network, making it appear as if your remote device is physically connected to your local network. This means you can access your Raspberry Pi using its private IP address, just as if you were at home, without exposing individual services to the public internet.Setting Up a VPN on Your Pi
You can **setup a VPN on your Pi** using open-source software like OpenVPN or WireGuard. The Raspberry Pi makes an excellent VPN server due to its low power consumption and always-on nature. 1. **Install VPN software:** Choose OpenVPN or WireGuard. There are numerous well-documented tutorials available online for setting up either on a Raspberry Pi. 2. **Configure the VPN server:** This involves generating keys, setting up client configurations, and defining network parameters. 3. **Port Forward the VPN Port:** Unlike forwarding every service, with a VPN, you only need to forward one single port – the VPN port (e.g., 1194 for OpenVPN). **You then will need to open a port anyway, 1194 by** default for OpenVPN, or another chosen port for WireGuard. This single open port is dedicated solely to establishing the secure VPN tunnel. 4. **Install VPN client:** On your remote device (laptop, phone), install the corresponding VPN client and import the configuration file generated by your Pi. 5. **Connect:** Establish the VPN connection from your remote device. Once connected, your remote device will be part of your home network, and you can access your Raspberry Pi using its local IP address (e.g., `ssh pi@192.168.1.100`).Advantages and Considerations of VPN
**Advantages:** * **Superior Security:** All traffic between your remote device and your home network is encrypted. No individual service ports (like SSH or VNC) are directly exposed to the internet. * **Full Network Access:** Once connected to the VPN, you can access *any* device on your home network, not just the Raspberry Pi. * **Privacy:** Your online activity through the VPN server is routed through your home network's internet connection. **Considerations:** * **Setup Complexity:** Setting up a VPN server can be more involved than simple port forwarding, requiring some command-line proficiency. * **Performance:** VPN encryption adds a slight overhead, which might impact speeds, though for typical Pi usage, it's usually negligible. * **Dynamic IP:** If you have a dynamic public IP, you'll still need a DDNS service to ensure your VPN client can always find your home network. Using a VPN is widely regarded as one of the most secure ways to **remotely control your Raspberry Pi from any device connected to the internet**, as it encapsulates all traffic within an encrypted tunnel.Simplifying Remote Access with Tunneling Tools: Ngrok
For those who find VPN setup daunting or prefer a simpler, on-demand solution for specific services, tunneling tools like Ngrok offer an excellent alternative. Ngrok creates secure tunnels from your local machine to the internet, bypassing firewalls and NAT restrictions.Ngrok: A Quick and Easy Solution
**This tutorial will demonstrate how to access your Raspberry Pi from outside your home or local network using the ngrok tool.** Ngrok is particularly popular among developers for exposing local web servers, but it's equally effective for SSH, VNC, or any other TCP service running on your Pi.How Ngrok Works
1. **Download and Install:** Download the Ngrok client for ARM architecture (Raspberry Pi) from their official website. 2. **Authenticate:** Sign up for a free Ngrok account and connect your client to your account using the provided authtoken. 3. **Create a Tunnel:** From your Raspberry Pi, run a command like `ngrok tcp 22` (for SSH) or `ngrok tcp 5900` (for VNC). 4. **Receive Public URL:** Ngrok will then provide you with a unique public URL (e.g., `tcp://0.tcp.ngrok.io:12345`) that forwards to your Pi's local service. **Ngrok requires very little setup, just a few commands in the** terminal. You don't need to configure your router, deal with port forwarding, or worry about dynamic IP addresses. Ngrok handles all the NAT traversal and provides a stable public endpoint. **Advantages of Ngrok:** * **Ease of Use:** Extremely simple to set up and use, perfect for quick, temporary access. * **No Router Configuration:** Bypasses the need for port forwarding or DDNS. * **On-Demand Access:** Tunnels can be started and stopped as needed. **Considerations:** * **Security (Free Tier):** The free tier provides random public URLs, which are hard to guess but can change. For persistent, fixed URLs, a paid Ngrok plan is required. * **Ephemeral Tunnels:** Free Ngrok tunnels are temporary and expire after a certain period or when the Ngrok client is stopped. * **Dependency on Ngrok Service:** Your access relies on Ngrok's servers being online. While Ngrok simplifies access, remember that you are still exposing a service to the internet, albeit through a secure tunnel. Therefore, strong authentication (SSH keys for SSH, strong passwords for VNC) remains paramount.Streamlined Solutions: Third-Party IoT Remote Access Platforms
For users who desire maximum simplicity, security, and reliability without delving into network configurations, specialized third-party IoT remote access solutions offer a compelling alternative. These platforms are designed specifically to provide secure, managed access to devices like the Raspberry Pi. **To remote access Raspberry Pi from outside local network use a 3rd party IoT remote access solution such as SocketXP that are more secure and easier than setting up port.** These services typically involve installing a lightweight agent on your Raspberry Pi. This agent establishes an outbound connection to the platform's cloud servers, creating a secure, persistent tunnel. When you want to connect, you simply log into the platform's web interface or use their client application, and the platform routes your connection through the established tunnel to your Pi. **Examples of such platforms include:** * **SocketXP:** As mentioned in the data, SocketXP provides secure SSH, HTTP, and TCP tunnels to devices behind firewalls and NATs, without requiring any port forwarding. * **Remote.it:** Another popular service that offers secure P2P connections to devices, making them accessible from anywhere. * **TeamViewer/AnyDesk (with limitations):** While primarily desktop remote control tools, they can be configured on a Raspberry Pi (especially desktop environments) to provide visual remote access, though they might be resource-intensive for headless Pi setups. **Advantages of Third-Party Solutions:** * **Extreme Ease of Use:** Minimal setup, often just a single command to install the agent. * **Enhanced Security:** Built-in encryption, authentication, and often granular access controls. * **No Port Forwarding/DDNS:** Completely bypasses router configuration. * **Reliability:** Designed for persistent, stable connections. * **Managed Services:** Often include features like device management, monitoring, and user access control. **Considerations:** * **Cost:** While many offer free tiers, advanced features or higher usage limits often come with a subscription fee. * **Dependency on Service:** You rely on the third-party provider's infrastructure. * **Data Privacy:** Ensure you trust the provider with your connection data (though the data itself is typically encrypted). These solutions are ideal for those who prioritize convenience and enterprise-grade security without the technical overhead of manual VPN or port forwarding setups.Critical Security Best Practices for Remote Access
Regardless of the method you choose to **access Raspberry Pi outside network**, security should always be your top priority. A compromised Raspberry Pi can become a gateway into your entire home network or be used as part of a botnet. Here are essential security practices: * **Change Default Passwords:** The first thing you should do after setting up a new Raspberry Pi is change the default 'pi' user password. Use strong, unique passwords. * **Use SSH Key Authentication:** For SSH access, disable password authentication and rely solely on SSH keys. This is vastly more secure as it's nearly impossible to brute-force a private key. * **Keep Software Updated:** Regularly update your Raspberry Pi's operating system and all installed software (`sudo apt update && sudo apt upgrade`). This patches security vulnerabilities. * **Implement a Firewall:** Use `ufw` (Uncomplicated Firewall) to limit incoming connections to only the necessary ports. For instance, if you're using a VPN, only open the VPN port. * **Disable Unused Services:** If you're not using VNC, Samba, or other services, disable them to reduce your attack surface. * **Monitor Logs:** Periodically check system logs (`/var/log/auth.log` for SSH attempts) for suspicious activity. * **Two-Factor Authentication (2FA):** If your chosen remote access solution or service supports it, enable 2FA for an extra layer of security. * **Regular Backups:** Back up your Pi's SD card regularly so you can restore it in case of a compromise or data loss. * **Least Privilege:** Create separate user accounts for different tasks and grant them only the necessary permissions. Avoid running services as root. **To remotely control your Raspberry Pi from any device connected to the internet, you can** use various methods, but remember that the convenience of remote access must always be balanced with robust security measures. Whether you choose to **expose SSH or VNC on your Raspberry Pi over the open internet, within a VPN, or using an external** service, implementing these best practices is non-negotiable.Choosing the Right Method for Your Needs
The "best" method to **access Raspberry Pi outside network** depends heavily on your technical comfort level, security requirements, and the specific use case. * **For Beginners & Simplicity:** * **Ngrok:** Excellent for quick, temporary access to a single service without router configuration. Ideal for testing or occasional use. * **Third-Party IoT Solutions (e.g., SocketXP):** If you want a "set it and forget it" solution with high security and ease of management, these are often the best choice, especially for more permanent deployments or multiple devices. They are designed to be "more secure and easier than setting up port" forwarding. * **For Intermediate Users & Strong Security:** * **VPN (OpenVPN/WireGuard on Pi):** This is arguably the most secure and flexible method. It provides full network access and encrypts all traffic. It requires more initial setup but offers complete control and privacy. * **For Advanced Users (with extreme caution):** * **Port Forwarding with DDNS:** Only consider this if you fully understand the security implications, have implemented all possible security hardening measures (SSH keys, strong passwords, firewall), and have a specific reason why other methods won't work. It's generally discouraged for direct exposure of services like SSH or VNC due to the inherent risks. Consider the following questions when making your decision: * How often do you need remote access? * What services on your Pi do you need to access (SSH, VNC, web server, etc.)? * What is your comfort level with command-line interfaces and network configuration? * What is your budget (free vs. paid services)? * How critical is the data or service on your Pi? Ultimately, the goal is to **learn how to connect to your Raspberry Pi from outside your network and unlock remote access and control** in a way that aligns with your technical capabilities and security posture. Whether you’re accessing it from a mobile phone while away, connecting from a computer, or granting others access to your Pi from outside your network, you’re all set to embark on a journey of remote control and limitless possibilities.Conclusion
The ability to **access Raspberry Pi outside network** boundaries transforms it from a local hobbyist device into a truly versatile and powerful remote server. We've explored several methods, from the traditional but risky port forwarding to the highly secure VPNs, the convenient tunneling tools like Ngrok, and the streamlined third-party IoT remote access solutions. Each method offers a unique balance of ease of use, security, and flexibility. While port forwarding might seem like the simplest initial approach, its inherent security risks make it a less desirable option for most users. Instead, investing time in setting up a robust VPN, leveraging the simplicity of Ngrok for specific tasks, or embracing the comprehensive features of a dedicated IoT remote access platform like SocketXP will provide a far more secure and reliable experience. Regardless of your chosen path, remember that implementing strong security best practices—such as using SSH keys, strong passwords, and keeping your system updated—is non-negotiable for protecting your Raspberry Pi and your home network. Now that you're equipped with the knowledge to securely connect to your Raspberry Pi from anywhere, the potential for your projects is truly limitless. Which method resonates most with your needs? Share your thoughts and experiences in the comments below, or tell us about the exciting projects you're powering with remote access! Don't forget to explore our other articles for more tips and tricks on maximizing your Raspberry Pi's potential.

Detail Author:
- Name : Mrs. Opal Torp
- Username : wellington.hirthe
- Email : cabbott@schinner.com
- Birthdate : 1988-04-15
- Address : 8417 Cummerata Parks North Claireland, NY 02060
- Phone : 760-445-4515
- Company : Welch Group
- Job : Motor Vehicle Operator
- Bio : Unde ut voluptas est eum. Quod id consequatur inventore ut laborum officiis. Ut qui voluptate voluptatum doloremque modi. Aliquid et pariatur odit sit tempora veniam tempora aut.
Socials
instagram:
- url : https://instagram.com/alejandra_id
- username : alejandra_id
- bio : Rerum quis labore molestiae deleniti nam. Quia nulla dolorum quidem ullam. Non sed saepe maiores.
- followers : 2310
- following : 518
twitter:
- url : https://twitter.com/carter2019
- username : carter2019
- bio : Officia laborum cumque temporibus eos quis. Aperiam voluptas aspernatur architecto aut repudiandae rem odit.
- followers : 5450
- following : 601
tiktok:
- url : https://tiktok.com/@alejandracarter
- username : alejandracarter
- bio : Laboriosam sit rerum dolorem veritatis ratione ea dolores.
- followers : 1889
- following : 2599
facebook:
- url : https://facebook.com/carter1988
- username : carter1988
- bio : Quia nihil eos explicabo labore deleniti occaecati.
- followers : 4827
- following : 1833
linkedin:
- url : https://linkedin.com/in/alejandra_carter
- username : alejandra_carter
- bio : Modi fugiat blanditiis harum velit.
- followers : 6718
- following : 2369
