Securely Connect Remote IoT: Raspberry Pi To AWS VPC
In today's interconnected world, the ability to **securely connect remote IoT VPC on AWS with Raspberry Pi devices** is no longer a mere technical convenience but a fundamental requirement. With the proliferation of Internet of Things (IoT) devices, ensuring the privacy and integrity of your data, along with robust device management, has become paramount. This guide will walk you through the essential steps and principles to establish a fortified connection between your low-cost, versatile Raspberry Pi devices and the powerful, scalable infrastructure of Amazon Web Services (AWS).
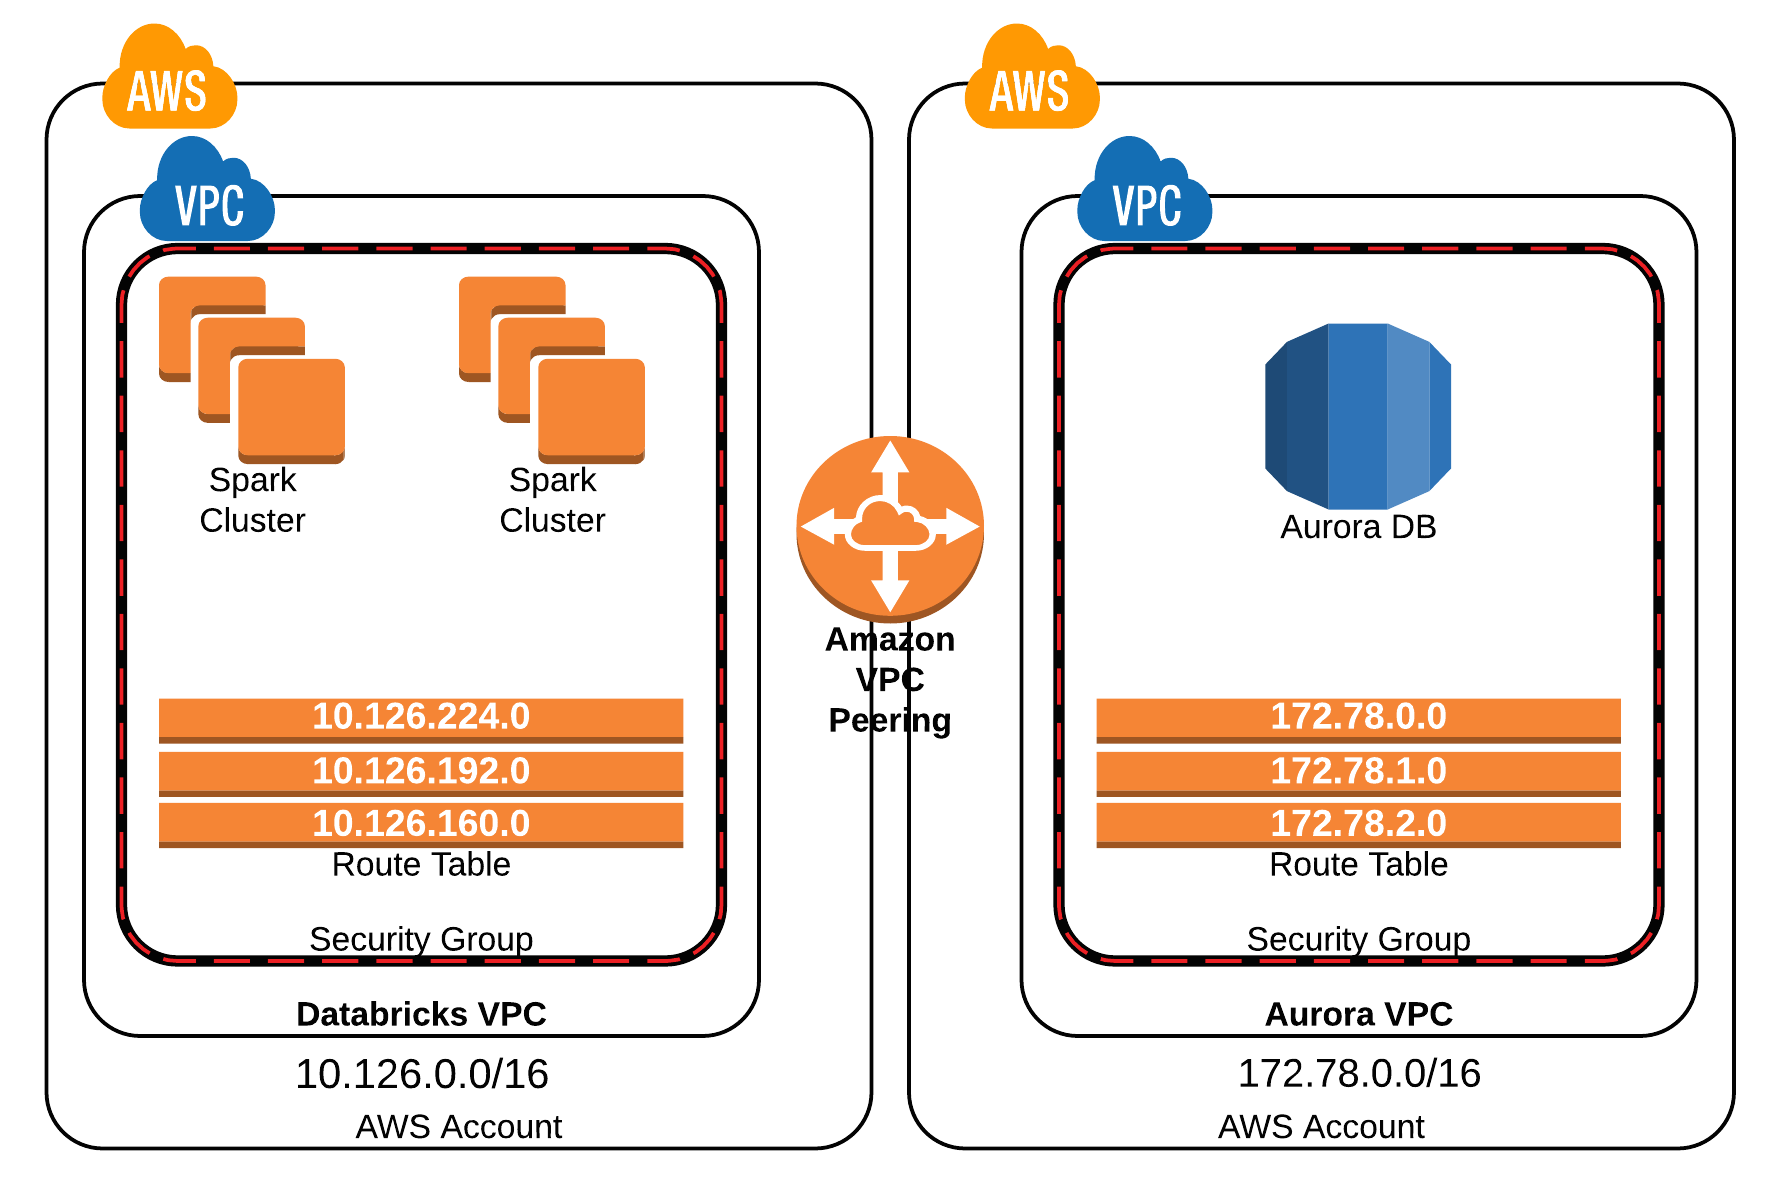
An AWS Virtual Private Cloud (VPC) is essentially your own private network within the AWS cloud, providing an isolated and highly controllable environment for your resources. Connecting your Raspberry Pi devices to this private network enables seamless remote access and efficient data management, transforming your IoT projects from vulnerable endpoints into a secure, integrated ecosystem. This approach blends the affordability of Raspberry Pi with the robust capabilities of AWS, providing a secure and scalable solution for any IoT endeavor.
Table of Contents
- The Imperative of Secure Remote IoT Connectivity
- Understanding AWS VPC: Your Private Cloud Network
- Raspberry Pi: The Versatile Edge Device for IoT
- Architecting Your Secure Remote IoT VPC Network
- Establishing a Secure Bridge: Connecting Raspberry Pi to AWS VPC
- Advanced Security Measures for Your IoT Ecosystem
- Practical Steps: A Walkthrough for Secure Connection
- Testing and Validating Your Secure Remote IoT VPC Connection
- Conclusion
The Imperative of Secure Remote IoT Connectivity
In an era where everything from smart home appliances to industrial sensors is connected to the internet, the security of IoT devices has become a critical concern. Unsecured IoT devices are prime targets for cyberattacks, leading to data breaches, unauthorized access, and even physical damage. Imagine a compromised smart lock, a hacked security camera, or industrial machinery taken offline. The consequences can range from privacy invasion and financial loss to significant operational disruptions. This is precisely why securing your remote IoT devices by connecting them to an AWS VPC using a Raspberry Pi is no longer a luxury, but a necessity for data privacy and robust management.
Traditional network configurations often leave IoT devices exposed to the public internet, making them vulnerable to scanning and exploitation. A remote IoT VPC network, however, allows you to connect your Raspberry Pi devices to the cloud within a controlled, private environment. This provides the advantage of securely isolating your devices from the broader internet while still enabling remote access and data management capabilities. By establishing a secure bridge between your remote IoT devices and your AWS infrastructure, you gain centralized control, enhanced security, and the ability to remotely manage and update your fleet of devices with confidence.
Understanding AWS VPC: Your Private Cloud Network
At its core, an AWS VPC is essentially your own private network within the AWS cloud. It's a logically isolated section of the AWS Cloud where you can launch AWS resources in a virtual network that you define. This isolation means your resources are not directly exposed to the public internet unless you explicitly configure them to be. Think of it as building your own custom data center within AWS, complete with your chosen IP address range, subnets, route tables, network gateways, and security settings.
Key components of an AWS VPC include:
- Subnets: Divisions within your VPC where you place your resources. You can have public subnets (for resources that need internet access, like web servers) and private subnets (for resources that don't, like databases or, in our case, IoT devices).
- Route Tables: Define rules that determine where network traffic from your subnets is directed.
- Internet Gateways (IGW): A horizontally scaled, redundant, and highly available VPC component that allows communication between instances in your VPC and the internet.
- NAT Gateways: Allow instances in a private subnet to connect to the internet or other AWS services, but prevent the internet from initiating a connection with those instances.
- Network Access Control Lists (NACLs): Stateless firewalls that control traffic in and out of subnets.
- Security Groups: Stateful firewalls that control traffic in and out of individual instances.
For IoT, leveraging AWS services like VPC provides unparalleled benefits: enhanced security through network isolation, granular control over traffic flow, and the ability to scale your IoT infrastructure effortlessly. It's the foundation for building a robust and safe IoT ecosystem.
Raspberry Pi: The Versatile Edge Device for IoT
The Raspberry Pi has revolutionized the world of embedded computing and IoT. Its affordability, compact size, low power consumption, and remarkable versatility make it an ideal choice for a wide array of IoT projects. From smart home automation and environmental monitoring to industrial control systems and robotics, the Raspberry Pi serves as a powerful edge device, capable of collecting data, performing local processing, and communicating with cloud services.
Its open-source nature and extensive community support mean there's a wealth of resources, tutorials, and pre-built software available. Whether you're running Raspberry Pi OS (formerly Raspbian), Ubuntu, or even Windows 10 IoT Core, the Pi offers the flexibility to tailor your device to specific project needs. With tools like Raspberry Pi, anyone can create a secure IoT ecosystem without breaking the bank. So, whether you’re building a smart home system, monitoring remote environmental conditions, or developing a custom industrial sensor, the Raspberry Pi stands as a reliable and cost-effective workhorse at the edge of your network. Its ability to handle various sensors, actuators, and communication protocols makes it a cornerstone for practical IoT deployments.
Architecting Your Secure Remote IoT VPC Network
The first step in establishing a secure connection for your IoT devices using AWS is to meticulously plan and set up your VPC architecture. A well-designed VPC ensures maximum security, scalability, and ease of management for your Raspberry Pi fleet.
Designing Your VPC Topology
When planning your VPC, consider a multi-tier architecture. A common and highly recommended approach for IoT involves:
- Public Subnet: This subnet will host resources that need to be directly accessible from the internet, such as a bastion host (a jump server) or an Application Load Balancer. Your Raspberry Pi devices should generally NOT reside in a public subnet.
- Private Subnet(s): This is where your Raspberry Pi IoT devices will reside. Resources in private subnets cannot be directly accessed from the internet. Outbound internet access (e.g., for software updates or sending data to AWS IoT Core) can be facilitated via a NAT Gateway in the public subnet.
- Availability Zones: Distribute your subnets across multiple Availability Zones (AZs) for high availability and fault tolerance. If one AZ experiences an outage, your IoT system can continue to operate from another.
This segregation is crucial for security. By placing your Raspberry Pi devices in private subnets, you significantly reduce their attack surface, as they are not directly exposed to the public internet.
Setting Up Your AWS VPC Foundation
Setting up a remote IoT VPC network with Raspberry Pi on AWS provides a robust and scalable foundation for your IoT projects. Here’s a general outline of the steps to create your VPC:
- Create a New VPC: Navigate to the VPC dashboard in the AWS Management Console. Choose "Create VPC" and define a CIDR block (e.g.,
10.0.0.0/16). - Create Subnets: Create at least one public subnet and one or more private subnets within your new VPC. Ensure they are in different Availability Zones for resilience.
- Create an Internet Gateway (IGW): Attach an IGW to your VPC. This allows resources in your public subnets to communicate with the internet.
- Configure Route Tables:
- For your public subnet's route table, add a route for
0.0.0.0/0(all internet traffic) to point to your IGW. - For your private subnet's route table, you'll typically configure a route for
0.0.0.0/0to point to a NAT Gateway (which you'd create in your public subnet) if your private instances need outbound internet access.
- For your public subnet's route table, add a route for
- (Optional but Recommended) Create a NAT Gateway: If your Raspberry Pi devices in private subnets need to initiate connections to the internet (e.g., for OS updates, connecting to external APIs, or AWS IoT Core endpoints), create a NAT Gateway in your public subnet and associate it with an Elastic IP address.
By following these steps, you lay the groundwork for a secure and well-organized network environment for your IoT devices.
Establishing a Secure Bridge: Connecting Raspberry Pi to AWS VPC
With your VPC foundation in place, the next crucial step is to establish the secure communication channels that allow your Raspberry Pi devices to interact with your AWS resources. This involves meticulous configuration of network security and leveraging secure protocols.
Configuring Security Groups and Network ACLs
Security Groups and Network ACLs (NACLs) are your primary tools for controlling traffic at the instance and subnet levels, respectively. They act as virtual firewalls.
- Security Groups: These are stateful, meaning if you allow inbound traffic, the outbound response is automatically allowed. For your Raspberry Pi devices, create a security group that allows only the necessary inbound and outbound traffic. For instance, if you're using SSH for management, allow inbound SSH (port 22) only from trusted IP ranges (e.g., your office IP or a bastion host's IP within your VPC). Outbound rules should allow communication to AWS IoT Core endpoints, update servers, and any other necessary services. Adhere strictly to the principle of least privilege: only allow what is absolutely necessary.
- Network ACLs: These are stateless, meaning you must explicitly allow both inbound and outbound traffic. While Security Groups are generally sufficient for instance-level control, NACLs provide an additional layer of defense at the subnet level. For a private subnet housing IoT devices, ensure NACLs block all unsolicited inbound traffic from the internet and only permit traffic from trusted sources or specific services.
Careful configuration of these layers is vital for protecting your IoT devices from unauthorized access and malicious attacks.
SSH: The Backbone of Secure Remote Access
Secure Shell (SSH) is the standard protocol for secure remote login and command-line execution. For managing your Raspberry Pi devices within a remote IoT VPC, SSH is indispensable. The concept of remote IoT VPC SSH on Raspberry Pi with AWS combines the power of SSH for secure remote access with the versatility of Raspberry Pi as a device.
Here’s how to secure your SSH access:
- Use Key-Based Authentication: Always use SSH key pairs instead of passwords. Generate a strong SSH key pair (e.g., using
ssh-keygenon your local machine). Keep your private key secure and never share it. - Enable SSH on Raspberry Pi: Ensure SSH is enabled on your Raspberry Pi. This can be done via
raspi-configor by creating an empty file namedsshin the boot partition of your SD card before first boot. Copy your public SSH key to the Raspberry Pi's~/.ssh/authorized_keysfile. - Bastion Host (Jump Server): For Raspberry Pi devices in private subnets, you won't be able to SSH directly from the internet. Instead, deploy a small EC2 instance (e.g., a T2.micro) in your public subnet to act as a bastion host. You SSH into the bastion host, and then from the bastion host, you SSH into your Raspberry Pi devices in the private subnet. This creates a secure tunnel and minimizes direct exposure of your IoT devices.
- SSH Agent Forwarding: For convenience and security, use SSH agent forwarding from your local machine to the bastion host, and then to the Raspberry Pi. This prevents your private key from ever residing on the bastion host.
This detailed guide delves into the intricate world of setting up a secure remote IoT VPC SSH connection, harnessing the power of Amazon Web Services (AWS) and the versatility of Raspberry Pi, ensuring your remote access is always encrypted and authenticated.
Advanced Security Measures for Your IoT Ecosystem
Beyond the foundational VPC and SSH configurations, several advanced AWS services and security practices can further fortify your remote IoT ecosystem. These measures are crucial for maintaining the integrity, confidentiality, and availability of your IoT data and devices.
- AWS IoT Core Integration: This managed service is designed for IoT devices. It allows billions of IoT devices to connect to AWS services without managing servers. Use AWS IoT Core for secure device authentication (via X.509 certificates), secure messaging (MQTT), device shadows for state management, and rules engine for data processing. This is a far more robust solution for device communication than direct SSH for data transfer.
- IAM Roles and Policies: Instead of embedding AWS credentials directly on your Raspberry Pi, leverage IAM roles. If your Raspberry Pi is connected via a mechanism that allows it to assume an IAM role (e.g., through AWS IoT Greengrass or a secure VPN connection that ties back to an EC2 instance assuming a role), it can securely interact with other AWS services (like S3, DynamoDB, Lambda) with granular permissions.
- Monitoring and Logging: Implement comprehensive monitoring and logging.
- Amazon CloudWatch: Collect and track metrics, collect and monitor log files, and set alarms for your AWS resources and applications. Monitor network traffic, CPU usage on your Raspberry Pi (if integrated with CloudWatch agents), and application logs.
- VPC Flow Logs: Capture information about the IP traffic going to and from network interfaces in your VPC. These logs are invaluable for security analysis, troubleshooting, and identifying anomalous traffic patterns.
- AWS CloudTrail: Record API calls and related events made by or on behalf of your AWS account. This helps in auditing actions taken within your AWS environment.
- Regular Patch Management: Keep your Raspberry Pi's operating system, firmware, and all installed software updated with the latest security patches. Unpatched vulnerabilities are a leading cause of breaches. Automate this process where possible.
- Device Identity and Certificate Management: For larger deployments, consider using AWS Certificate Manager (ACM) or a custom Certificate Authority (CA) to issue and manage X.509 certificates for each Raspberry Pi, ensuring unique and verifiable identities for all devices.
By integrating these advanced security layers, you build a resilient and highly secure remote IoT solution, ensuring data privacy and robust management from edge to cloud.
Practical Steps: A Walkthrough for Secure Connection
Now that we've covered the theoretical groundwork and architectural considerations, let's outline the practical steps to securely connect remote IoT VPC using Raspberry Pi on AWS. This includes configuring VPC settings, preparing your Raspberry Pi, and establishing the connection.
Preparing Your Raspberry Pi
Before connecting your Raspberry Pi to an AWS server via a Virtual Private Cloud (VPC), ensure it's ready:
- Install Raspberry Pi OS: Flash the latest version of Raspberry Pi OS (or your preferred Linux distribution) onto a high-quality SD card.
- Initial Setup: Boot your Raspberry Pi, complete the initial setup wizard, and update all packages:
sudo apt update && sudo apt upgrade -y. - Enable SSH: Use
sudo raspi-config-> Interface Options -> SSH -> Enable. Alternatively, create an empty file namedsshin the boot partition of your SD card before first boot. - Set a Strong Password (if not using keys initially) or Configure SSH Keys: For ultimate security, generate an SSH key pair on your local machine and copy the public key to your Raspberry Pi's
~/.ssh/authorized_keysfile. Disable password authentication for SSH on the Pi (edit/etc/ssh/sshd_configand setPasswordAuthentication no). - Install Necessary Software: Depending on your IoT project, install any required libraries, sensors drivers, or AWS SDKs (e.g., AWS IoT Device SDK for Python, Node.js, etc.).
- Network Configuration: Configure your Raspberry Pi's network settings to connect to your local network. If you plan to use a VPN client on the Pi to connect to your AWS VPC (e.g., OpenVPN or WireGuard), install and configure the client.
Connecting your Raspberry Pi to a VPC using AWS and remote IoT solutions is an exceptionally potent way to manage your IoT devices with unparalleled security. While this guide focuses on general Linux-based Raspberry Pi devices, if you are working with Windows 10 IoT Core on your Raspberry Pi, you would connect with Secure Shell, the web interface, and Visual Studio for remote management. However, the underlying VPC and security principles remain largely the same.
Testing and Validating Your Secure Remote IoT VPC Connection
After setting up your VPC, configuring security groups, and preparing your Raspberry Pi, the final crucial step is to thoroughly test and validate the secure connection. This ensures that your devices can communicate as intended while remaining protected.
- Verify SSH Connectivity: From your bastion host (if using one) or your trusted network, attempt to SSH into your Raspberry Pi using your SSH key.
If successful, you have established a secure remote access channel. If not, review your security group rules, NACLs, and Raspberry Pi's SSH configuration.ssh -i /path/to/your/private_key pi@<Raspberry_Pi_Private_IP> - Test Outbound Internet Access (from Private Subnet Pi): If your Raspberry Pi is in a private subnet and needs internet access (e.g., for updates or to connect to AWS IoT Core), test this by trying to ping an external website or download a file.
If this fails, check your NAT Gateway configuration and the route table associated with your private subnet.ping google.com - Test AWS IoT Core Connectivity: If you're integrating with AWS IoT Core, deploy a simple Python script on your Raspberry Pi that publishes messages to an MQTT topic. Monitor the AWS IoT Core MQTT test client to ensure messages are being received. This confirms your device's ability to securely interact with AWS services.
- Monitor VPC Flow Logs: Continuously monitor your VPC Flow Logs in CloudWatch to observe traffic patterns. Look for any unexpected or blocked traffic that might indicate a misconfiguration or a potential security concern.
- Security Group and NACL Review: Periodically review your security group and NACL rules to ensure they adhere to the principle of least privilege. Remove any rules that are no longer necessary.
By the end of this article, you will have a comprehensive understanding of securely connecting remote IoT VPC using Raspberry Pi on AWS. This includes configuring VPC settings, establishing SSH access, and rigorous testing. This comprehensive approach ensures your IoT devices are not only functional but also resilient against evolving cyber threats.
Conclusion
In an increasingly connected world, the security of your IoT devices is paramount. This guide has demonstrated how to **securely connect remote IoT VPC on AWS with Raspberry Pi devices**, transforming a potential vulnerability into a robust, scalable, and manageable solution. By leveraging the power of AWS Virtual Private Cloud, you create an isolated, private network for your Raspberry Pi fleet, significantly enhancing data privacy and operational integrity.
We've explored how AWS VPC provides the essential network isolation, how the Raspberry Pi serves as an affordable yet powerful edge device, and the critical role of secure SSH connections. From architecting your VPC with public and private subnets to meticulously configuring security groups and implementing advanced security measures like AWS IoT Core and comprehensive logging, every step contributes to building an unyielding IoT ecosystem. Connecting your Raspberry Pi to an AWS server via


Detail Author:
- Name : Ms. Dolores Bartell
- Username : myron.ortiz
- Email : jocelyn85@yahoo.com
- Birthdate : 1998-07-13
- Address : 1897 Tillman Extension Port Gussie, ME 55554
- Phone : 1-220-760-1443
- Company : McKenzie, Morar and Wintheiser
- Job : Clinical Psychologist
- Bio : Perferendis in ut doloremque non. Sed aliquam a animi iusto vel odio. Ratione labore aliquid praesentium cumque. Quod et modi molestiae reiciendis nihil consequatur et.
Socials
linkedin:
- url : https://linkedin.com/in/garrick_id
- username : garrick_id
- bio : Ratione cupiditate laudantium maiores maiores.
- followers : 5887
- following : 594
twitter:
- url : https://twitter.com/garrick7607
- username : garrick7607
- bio : Minima ipsa fugit ex sed. Aut provident totam quod. Dolorem quia quod cum sed nostrum at.
- followers : 2558
- following : 1508
tiktok:
- url : https://tiktok.com/@garrick536
- username : garrick536
- bio : Fugiat perferendis labore consequatur voluptas voluptas natus facilis.
- followers : 4926
- following : 2203
instagram:
- url : https://instagram.com/garrick.koepp
- username : garrick.koepp
- bio : Et corporis corporis et sint et sunt. Facere et voluptas soluta asperiores quidem tenetur.
- followers : 3276
- following : 285
facebook:
- url : https://facebook.com/garrick_official
- username : garrick_official
- bio : Et et velit corporis veritatis. Officiis quo modi deleniti quod est nostrum.
- followers : 3404
- following : 2385
